|
Short HowTo on HID Projectors: First of all, I am not responsible for anything that you guys do. I will give you a walkthrough on how to custom retrofit them in your Gen 5 Camry, it is not a complete step-by-step tutorial, but it should give you an idea if you plan to do this. There are many ways of doing this, but this is how I have mine setup. Tools: Philips screwdriver, two or more flat screwdrivers, pliers, heat gun (optional), oven, your choice of high-temperature paint, power drill, bolts or screws, a friend, and lots of patience. First of all we need to open up the headlights. The way I did this was by heating them on the oven. There is also the heat gun option which is probably safer. There are two screws on the back of the headlight which you must remove. Look in the back and they are visible. Remove them before you put the light in the oven. This is my tips on the oven method. Put the light inside and turn it to about 250 degrees. Let it sit there for about 3-4 minutes. After that turn it to 150-200 dregrees and let it sit for 2 minutes. NOTE: Always make sure the light is not overheating because it can resultt in melting. My method worked for my light good and did not melt. But you should always keep an eye on it. Next, you need to be quick and open the light using flat screwdrivers. 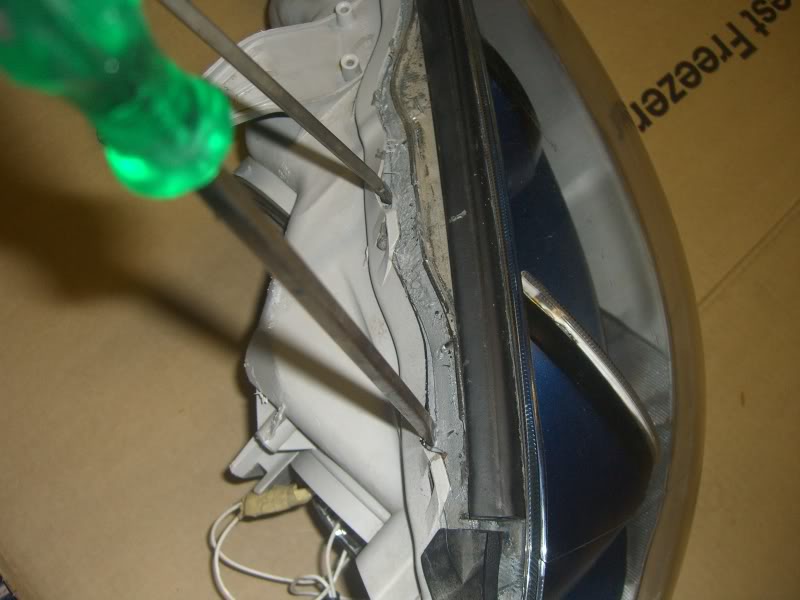 As the picture shows, work your way all the way around until the light pops open. NOTE: If it is too difficult, you may need to heat it up more. But be careful. Next you should take the reflector part and make a hole for the projector to exit. I used a power drill with a circular cutting tool. 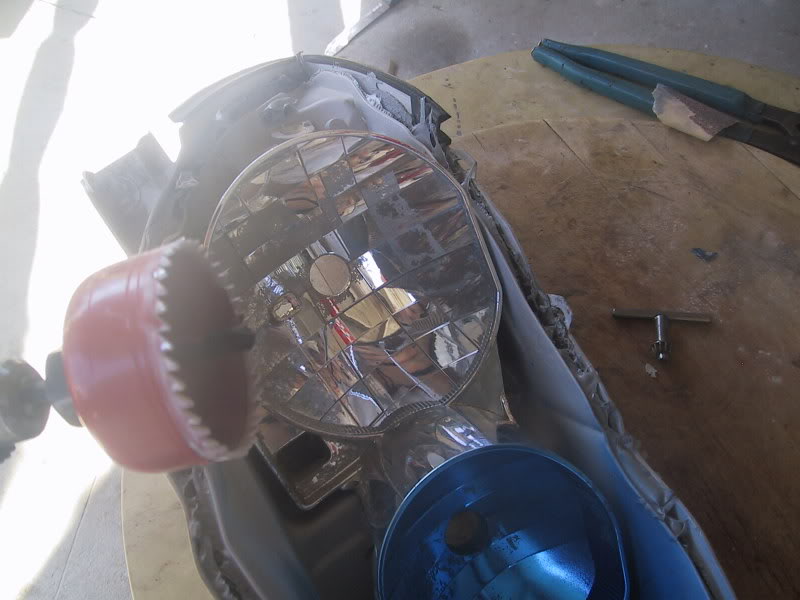 After cutting it you should have something like this: 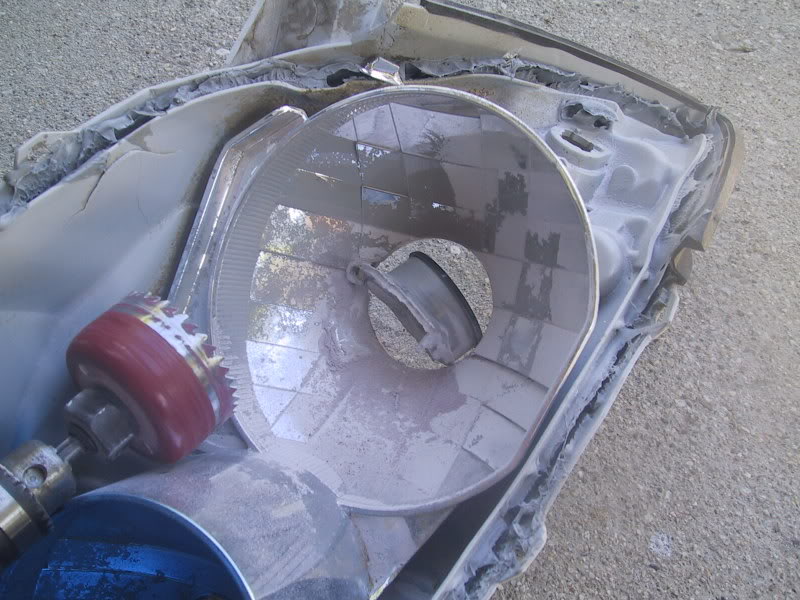 Next is the hard part. Aligning the projectors. The way I did this, was by waiting until nightfall and not screwing the projectors in place until I saw where they were aligned correctly. I screwed one in place, and then after that, I worked with the other side and got the beam alighted with the other one. Like I said there are many ways of doing so, but that was my way. 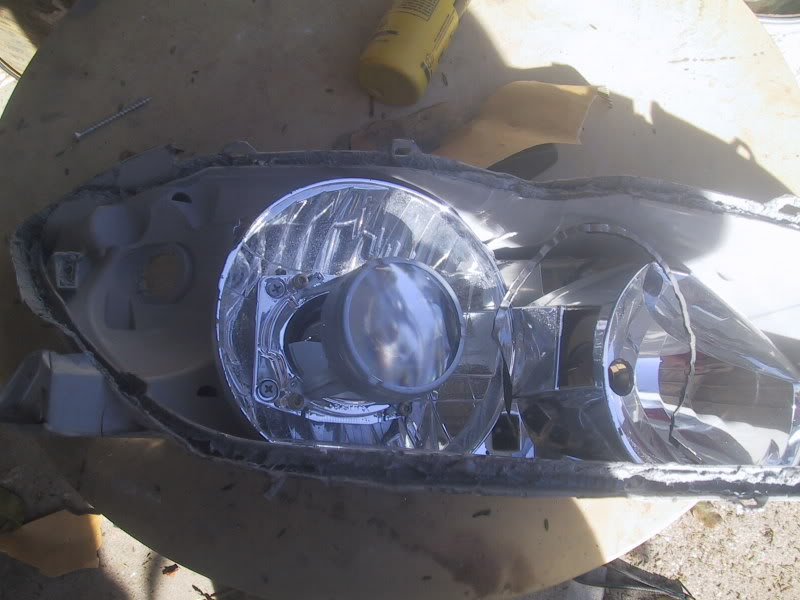 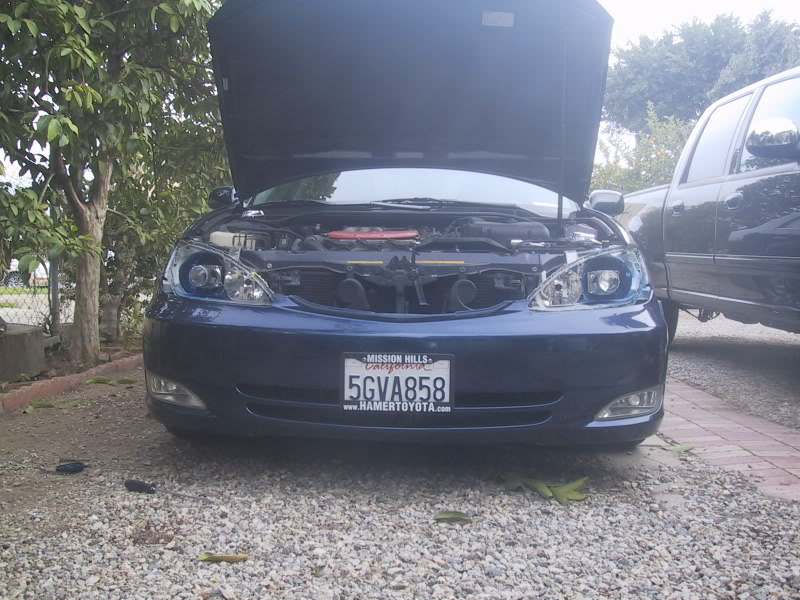 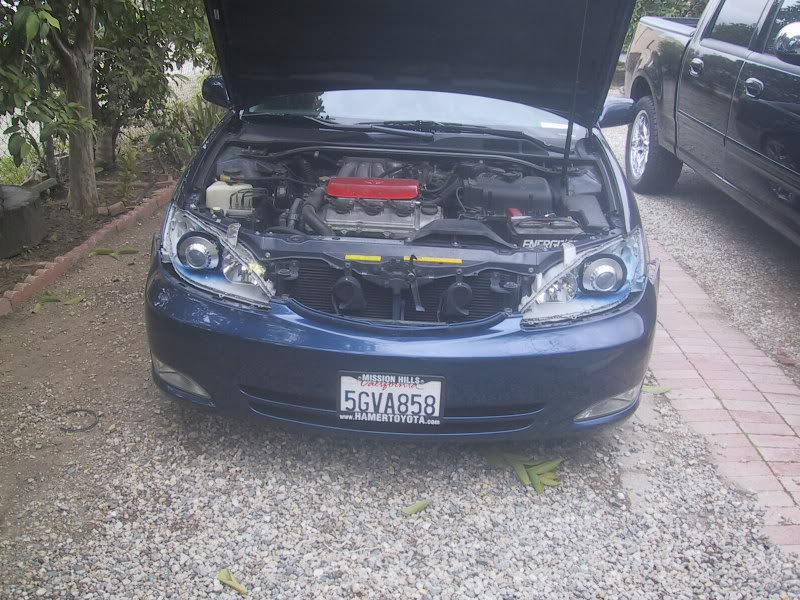 In my case, my projectors were open, meaning light was escaping from the sides, so I had to cover that up so it would only exit from the front side of the projectors. I used high temperature tape, the type used in the exhausts. 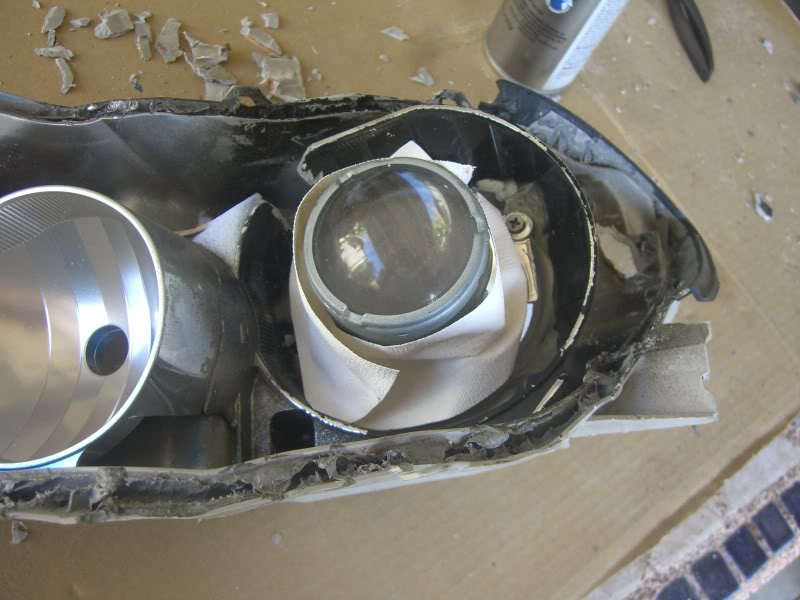 It looks lose, but I tightened it up nicely. Some other minor things I did was to paint the reflector black. My housing was black, and my projectors chrome, so the chrome reflector showing in the back was not too attractive to me. I painted it black to blend in with the housing.  If you plan on painting your housing now would be the right time. I went creating and painted it the same color as my car, with the black rings. Color is totally up to you., now on painting the housing there are many DIY’s to refer to. Be careful not to touch the inside of the lens because it will leave noticeable fingerprints or dirt that will annoy you later. TRUST ME. Now my lights had an optional feature which was Angel Eyes with ‘eyebrows’ which I later turned into turned signals instead of ‘eyebrows.’ 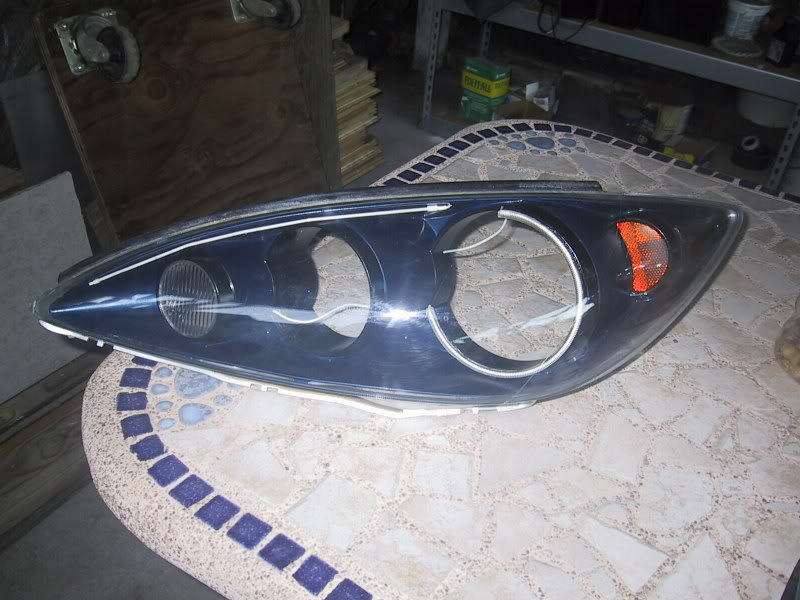 The trick to these is to be REALLY careful, since they break easily. I broke like 4 of them, and they are expensive. I also used a sort of heat-resistant material to cover up the mess behind the shroud. Such as tape and all that. It also makes the projector looks better. Without it, you would see everything behind it where the red is. 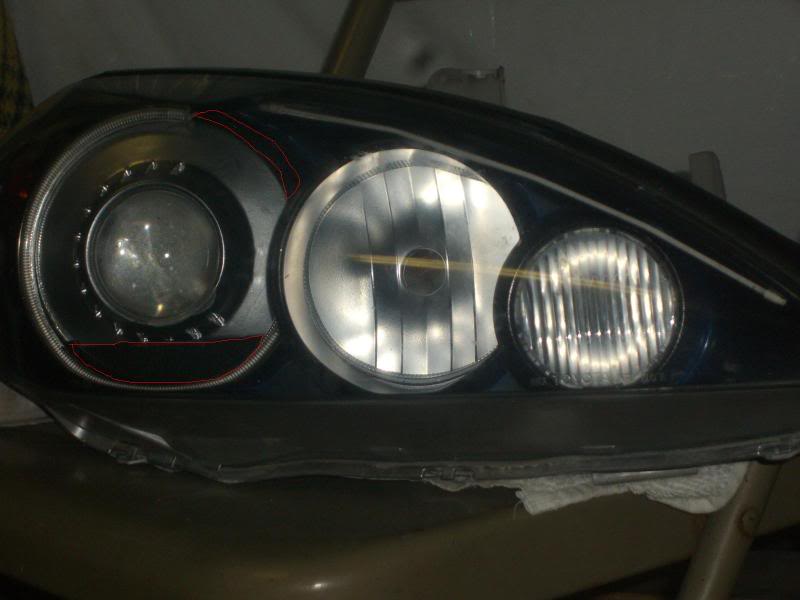 After you are sure the lights are carefully aligned, closing them can be tricky, you may try different ways, but the best is to head it up again, both halves, and quickly closing it. Make sure you have some pliers at hand to add some pressure when closing them. And don’t forget about the screws. Please be patient with closing the lights it is A LOT more difficult than to just open them, at least it was in my case. It would sometimes make the shrouds fall. You’ll see what I mean. You may also consider some silicon to help them on closing correctly and not having them fog up later. My final work. 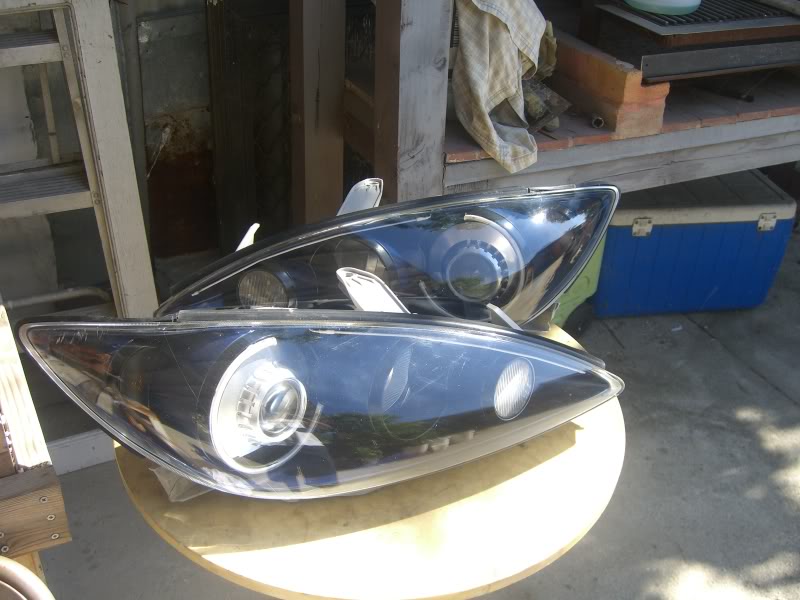 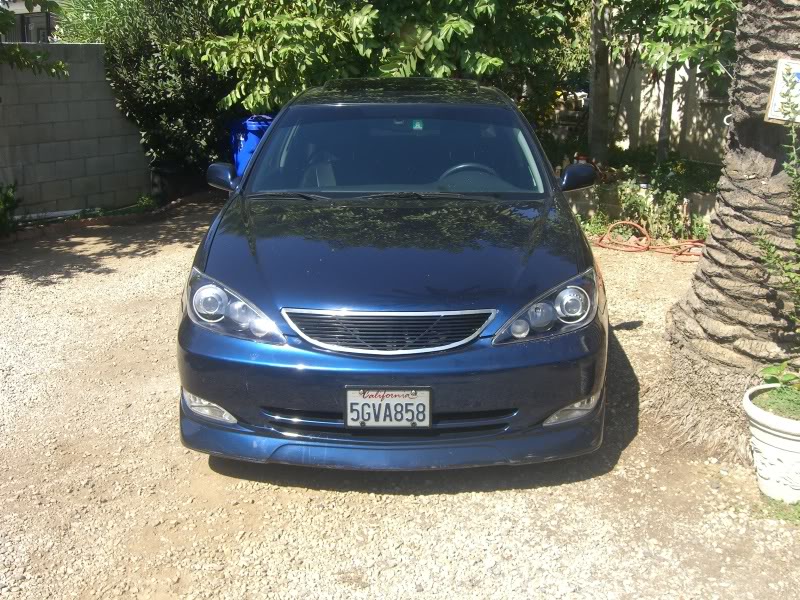 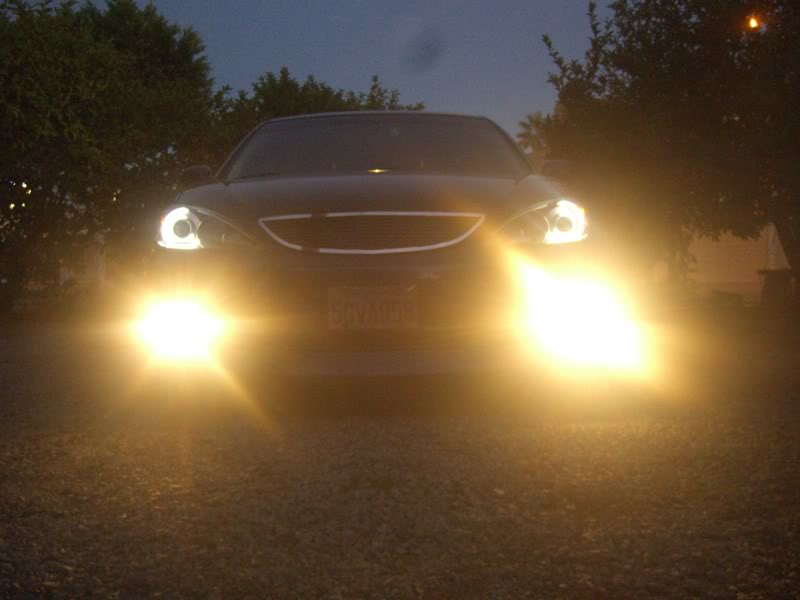 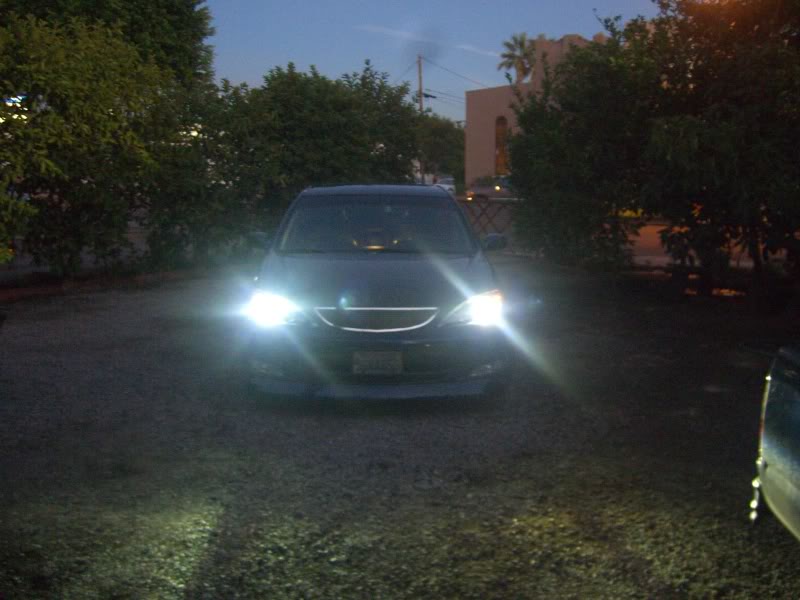 I have no beam pattern shots but I know its good, I will take some shots later on. I hope you guys got an idea if you plan on doing this. Again there are many other ways of doing this, but is my way. Hope you got a good idea. Submitted by xxx@******.com Revision 0 Article submitted on 31 Mar 2010 Last modified on 31 Mar 2010 Viewed 6299 times |
|
|
||||