|
Notes This outlines the removal procedure but does not go into detail regarding installation and inspection of the driveshaft. I do not recommend doing this without your official repair manual. Also, you'll need some helpers during removal. Please direct any questions and feedback regarding this tutorial to Andy, not LexLS. Tools Needed:
1) Remove the front exhaust pipe. Also remove the front catalytic converters if you are going to be removing the transmission. 2) Remove 6 bolts and set the heat insulator aside if you haven't already done so while removing the exhaust. Torque = 48 in-lb (5.4 Nm). 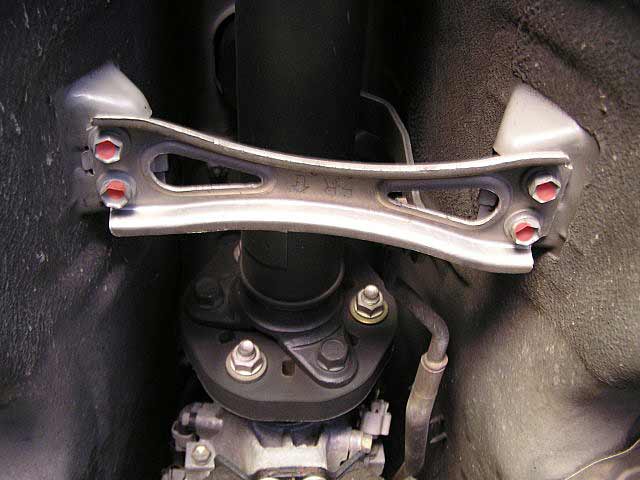 3) Remove the 4 bolts and set the front center crossmember brace aside. Torque = 9 ft-lb (13 Nm).  4) Remove the 4 nuts and set the rear center crossmember brace aside. Torque = 9 ft-lb (13 Nm).  5) Using two 64mm wrenches, loosen the driveshaft until the adjusting nut can be turned by hand. Note: At this point the driveshaft will still be on the car but it's the only picture. Torque = 51 ft-lb (69 Nm).  6) Place matchmarks on the transmission side of the driveshaft, flexible coupling and tranny connection on the other side; you will have to reinstall it in the exact same position. Unscrew the three nuts on the flexible coupling but leave it attached to the driveshaft. Do not remove the bolts on the driveshaft itself! Torque = 58 ft-lb (79 Nm).  7) Place matchmarks on the differential side of the driveshaft, flexible coupling and differential connection; you will have to reinstall it in the exact same position. Unscrew the three nuts on the flexible coupling but leave it attached to the driveshaft. Do not remove the bolts on the driveshaft itself! Torque = 58 ft-lb (79 Nm). 8) Separate the tranny from the front flexible coupling and the differential from the rear flexible coupling. You may need to pry them out using a screwdriver. Be careful not the damage the couplings.  9) At this point you'll need a helper(s). Remove the two bolts (Torque = 27 ft-lb, 37 Nm) for the center bearing but keep it supported by hand so the entire driveshaft remains in a straight line. Push the rear portion of the driveshaft straight forward which will compress it together. The rear portion should be out of the differential now. Finally, remove the driveshaft toward the rear of the car. Do not separate the driveshaft sections and keep it as straight as possible! Submitted by xxx@******.com Revision 1 Article submitted on 11 Sep 2010 Last modified on 2 Mar 2011 Viewed 4748 times |
|
|
||||