|
I searched on here for a how-to but was unable to find one for rebuilding the Clutch Slave. I have seen quite a few people just go out and buy new ones or from members off the boards, which I found puzzling since you can easily rebuild it with the rebuild kit from your local dealership (p/n 04313-17020). The kit is inexpensive and should be around $20-25 for most people from the dealership; mine was like $15. I wanted to rebuild mine since I was installing a new Speed Source extended push rod. The rebuild kit includes a new piston, spring, rubber grommet/shroud for rod, dust cap for bleeder valve  Disclaimer - Please note that I am not a mechanic by trade and that I nor CelicaTech.com can be held responsible for any damage, injuries or death caused by work you perform using this website as a guideline. Parts Needed: -Clutch slave cylinder -Clutch Slave rebuild kit (p/n 04313-17020) -Small brake hone -Drill (for brake hone) -10mm wrench or socket (to remove clutch slave bolts) -10mm flare nut wrench (for clutch line removal) -8mm flare nut wrench (for bleeder valve removal) -Brake fliud (for honing/bleeding clutch) -Wire brush (for cleaning) -Brake cleaner (for cleaning) -Assembly lube -Marine bearing grease (optional) Step #1 – Remove the rubber shroud and the rod from the clutch slave.  Step #2 - When I did mine I thought that I could remove the “piston” (blue part in pics) from the cylinder using compressed air – I couldn’t get it to even budge with 155psi. In order to get the piston out you will need to leave the clutch slave hooked up to the clutch line and use the pressure from pumping the clutch pedal to force it from the cylinder. *Warning* the piston will cause harm if care is not taken since it ejects with extreme force and will cause injury or damage. I recommend that you use a towel/rag wrapped around clutch slave to absorb the force as it could easily damage components within the engine bay. Clean up any brake fluid that may have come in contact with any painted areas. Step 3 – Disconnect hard line and bleeder valve from clutch slave. Step 4 – Remove clutch slave from transmission. Step 5 – Clean clutch slave cylinder - I used degreaser and a wire brush on the exterior, while I used brake cleaner on the interior. Clean/inspect bleeder valve – replace if necessary (not included in rebuild kit) 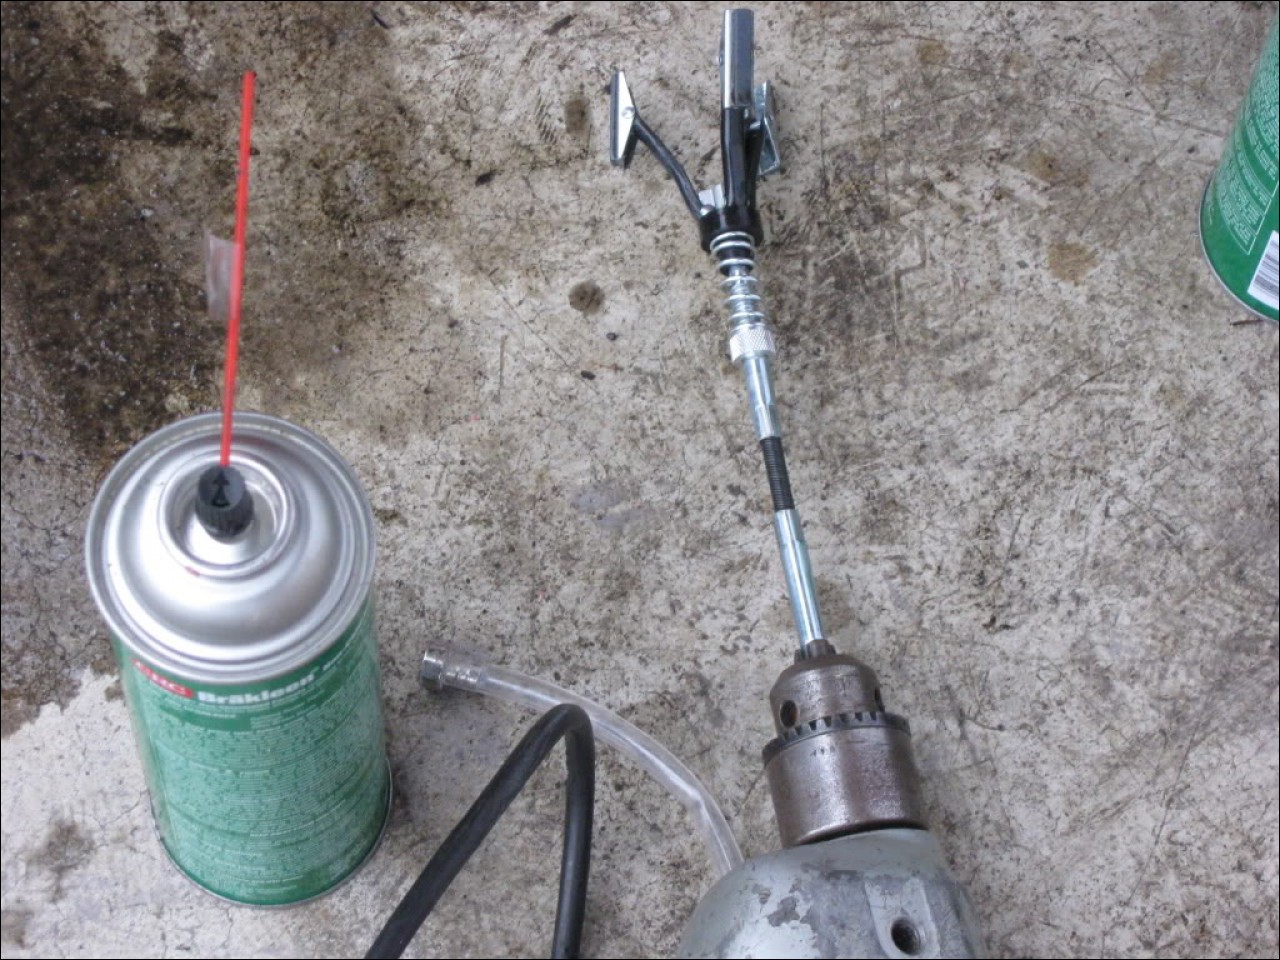 Step 6 – My clutch slave had a build up of sludge and rust in the cylinder and quite a bit of corrosion on the piston so I chose to hone the cylinder out prior to re-assembly. I used a small brake hone and brake fluid to hone it out until it was clean and free of rust. Be sure it is dry and free from all contaminates   Step 7 – Assemble piston assembly & rod assembly. This consists of assembling the piston and spring as seen in the photos. Be sure to lube the rod end with the dado (groove) in it as well as the rubber grommet/shroud as it will take some force and or finesse to get the rod through the small opening on the rubber grommet/shroud – think golf ball through a garden hose. Piston & spring:  Rod and grommet:   Step 8 – Assemble piston and cylinder. Next use a lithium soap based grease (assembly lube fits the requirements) lube the piston, the rubber on the piston and the first portion of the cylinder. Be sure that the bleeder valve and clutch line are disconnected as it will be very difficult if you attempt to assemble with those still attached. Place the piston in the cylinder spring side first. Push using steady pressure and the piston should go in smoothly albeit slowly. Push the piston into the cylinder about 1” below the edge.    Step 9 – Install rod/rubber grommet. I used marine bearing grease and put a blob in the concave surface of the piston. (Logic I used was rod will be rubbing on metal piston so the grease will prevent any unwanted noise/wear) Insert the rod into the concave portion of the piston and slide the rubber grommet over the groove on the outside of the clutch slave. The rubber will sit firmly in place holding the rod.   Step 10 – Install bleeder valve and new rubber dust cap. Step 11 – Reinstall clutch slave Step 12 – Bleed clutch line. Step 13 – Enjoy! Submitted by xxx@******.com Revision 0 Article submitted on 8 Oct 2010 Last modified on 9 Nov 2010 Viewed 3740 times |
|
|
||||