These are the three screws you need to remove.
Pick a side to start on, and turn the steering wheel to expose the three phillips head screws which hold the wheel well lining to the edge of the front bumper. Using a #3 Phillips head screwdriver, remove them.
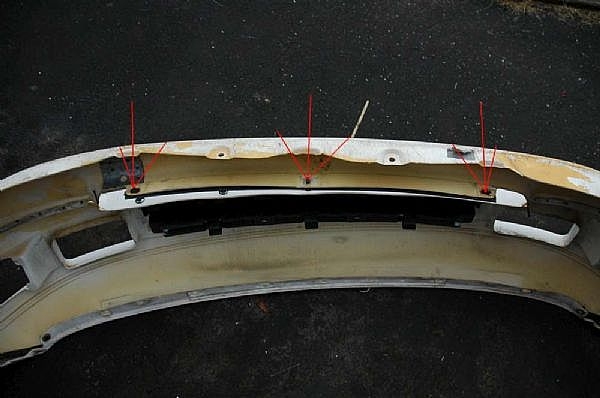
2 Using the 10mm socket and ratchet, remove these three bolts.
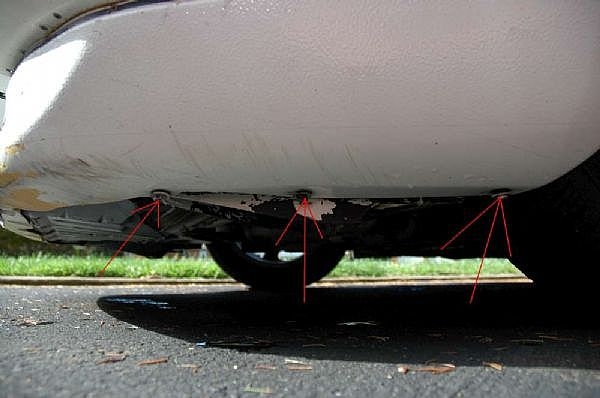
Moving to the bottom of the bumper, there are three 10mm head bolts that will be removed next.
3
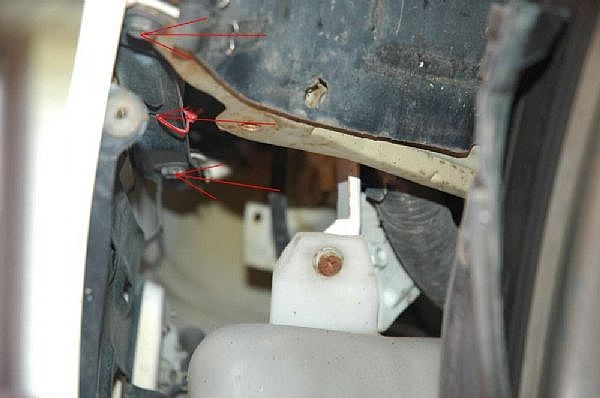
Pull back the wheel well liner that you unscrewed in step 1. Behind here are three more 10mm head bolts that fasten the bumper to the fender. An extension for your socket may aid removal of these three bolts.
4
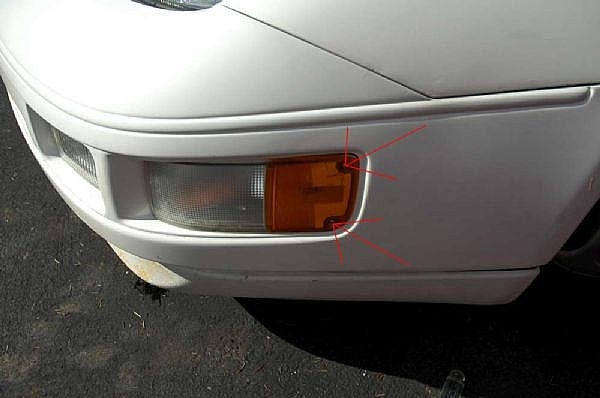
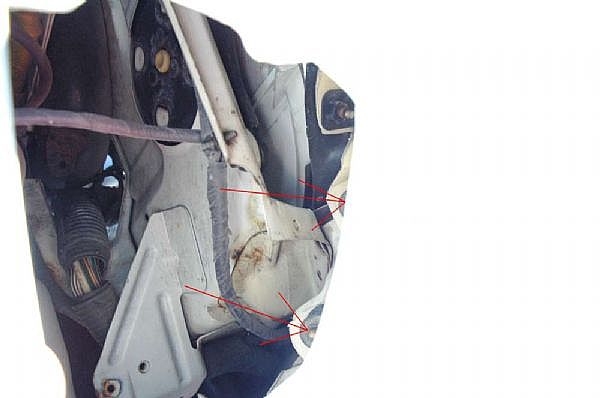
There are two remaining fasteners holding the bumper to the fender. These are most easily accessed by removing the turn signals. To remove the turn signal, simply unscrew the two Phillips head screws at the back of the light, remove the light, then unplug the harness.
5
With the turn signal removed, you can look up through it to see the two remaining 10mm nuts.
6
Repeat steps 1-5 for the other side of the car.
7
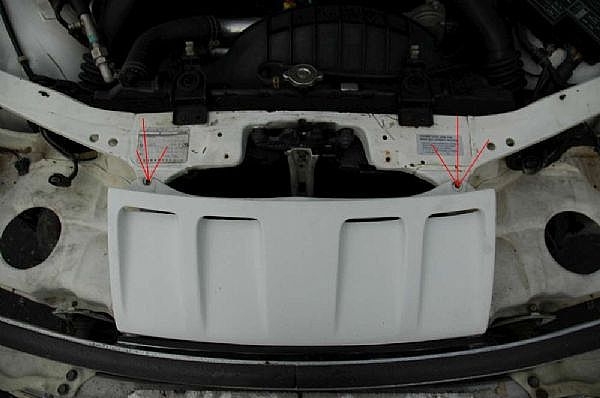
Remove the nose panel located between the head lights by popping the hood and removing the two 10mm bolts at the top of it. Once these are removed, the panel just lifts out.
8
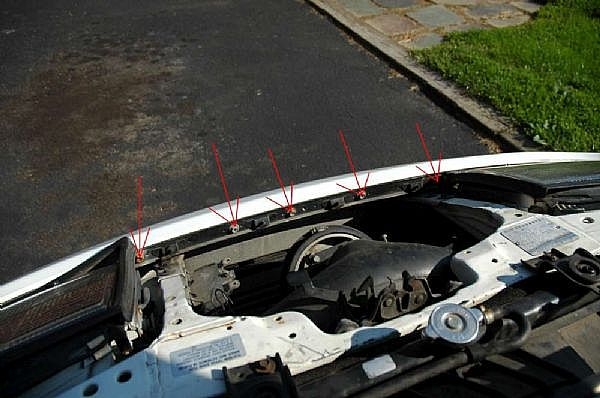
Five 10mm bolts are now exposed, which need to be removed. You may need to removed the rubber gasket around the headlight to gain access to the two side bolts. This gasket simply pulls off. **Be careful removing the two side bolts. The headlights are glass, and it's easy to smack the edge with a wrench**
9
In front of each headlight there is one more bolt to remove. If the rubber trim to the headlights isn't removed already, remove it to expose the bolt.
10
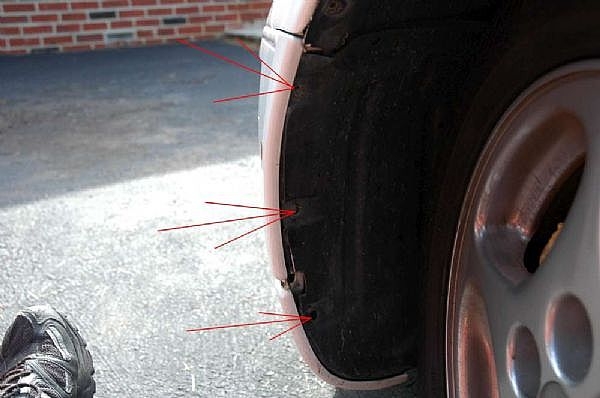
Finally remove the lower splash shield from the front bumper. A metal strip with 5 studs sandwiches the splash shield to the lower lip of the bumper. Reach under the bottom lip of the bumper, remove the 3 nuts, and remove the metal strip. The bumper should now be free from the splash shield.
11
The bumper should now be completely detached from the car. Pull the bottom of the bumper outward so that the sides of the bumper clear the four studs(two per side) on the fenders. Once the bumper is clear of these studs and the front metal bar (which sits behind the bumper), you can pull the bumper up and it should come free.
12
If you have a Twin Turbo model, you will have intercooler ducts behind the bumper which may need to be removed