|
how do u know its broken? 1. look at it, its cracked. DUH 2. u hear a "*thump* or a weird banging noise from ur suspension. TOOLS NEEDED: 17mm socket (take off ball joint nut) 19mm socket (take off wheels) 22mm socket (bake of the 2 LCA bolts) socket wrench (1/2 is best) jack stands jack some plastic cups (to mix the polyurethane) plastic fork/stick/chopsticks (to mix the polyurethane) rubber gloves polyurethane (look at step 3) optional (but really helps if you have it) breaker bar (or a cheater bar) impact gun my right (passenger) side broke at 110,000 miles. you have THREE options: 1. buy new LCA (lower control arms). but they're not cheap. $XXX price range 2. buy energy suspension front bushings set. however, they are a pain in the *** and regular joe-shmo will not be able to install them because you need to first cut and press out the bushings. this requires a press (like a hydraulic press) http://www.energysuspensionparts.com...prod=16%2E3116 3. (my way) fill your bushings with polyurethane. it's like the same thing as the ES bushings. step 1. jack your car up and put it on jackstands (I SAID JACKSTANDS PEOPLE) remember kids, safety first.  step 2. take off ur LCA: its held on by 3 bolts: 2 in the chassis and 1 on the balljoint. remove the two chassis bolt. it's a 22mm (i think. ill check in the morning). then remove the ball joint bolt. its a 17mm now BREAK the ball joint. there is a few ways u can do this: 1. go to autozone and RENT (free) a ball joint separator. this is the best and easiest way. http://www.autozone.com:80/autozone/...uestid=4135097 here is how it looks like in action: (borrowed form hond@tech thread)   or 2. you can also break the ball joint (if ur cant rent the tool...or dont wanna spend the $14 to buy the tool) with a 1/2 socket wrench. watch the youtube video. notice the wrench in between. then you press down and BAM. the ball joint is out. (you will have to push down pretty far) http://www.youtube.com/watch?v=ISY8b...layer_embedded NOTE: DO NOT.....I REPEAT, DO NOT HAMMER THE BALL JOINT BOLT. YOU WILL DESTROY THE THREADS AND WILL HAVE TO REPLACE A WHOLE NEW BALL JOINT!!! step 3. fixing the LCA bushings by pouring polyurethane 3.1 look at ur bushings. as seen here, one of mine is torn. eek 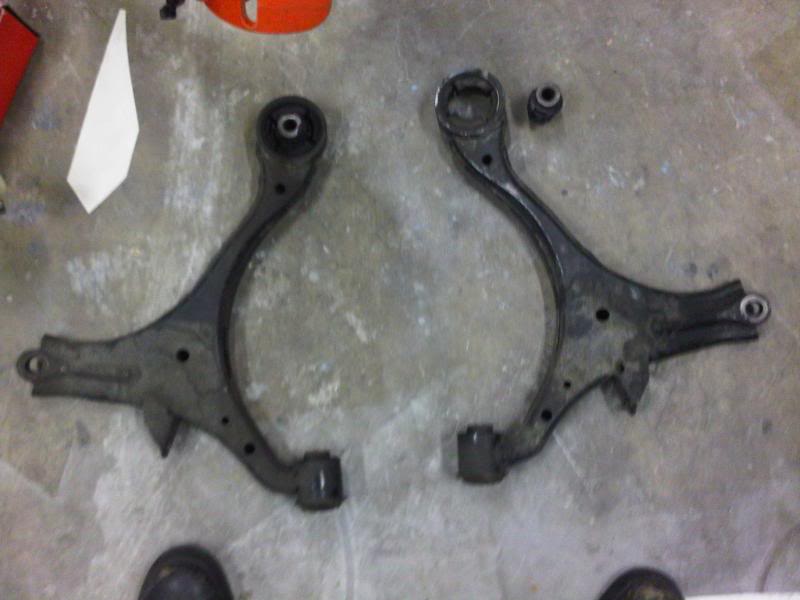 if you notice, this is the top of my front LCA bushing. its broken and you can see that its been banging against the top of my chassis. 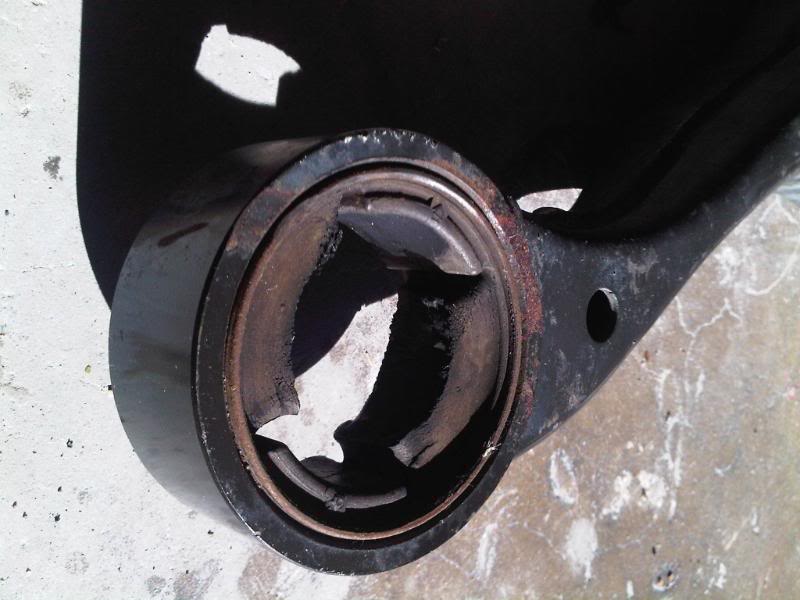 3.2 prep the LCA. tape the bottom of the broken bushing. make sure the center cylinder is CENTER i cannot photoshop/use paint if my life depended on it, so i drew it  bottom view 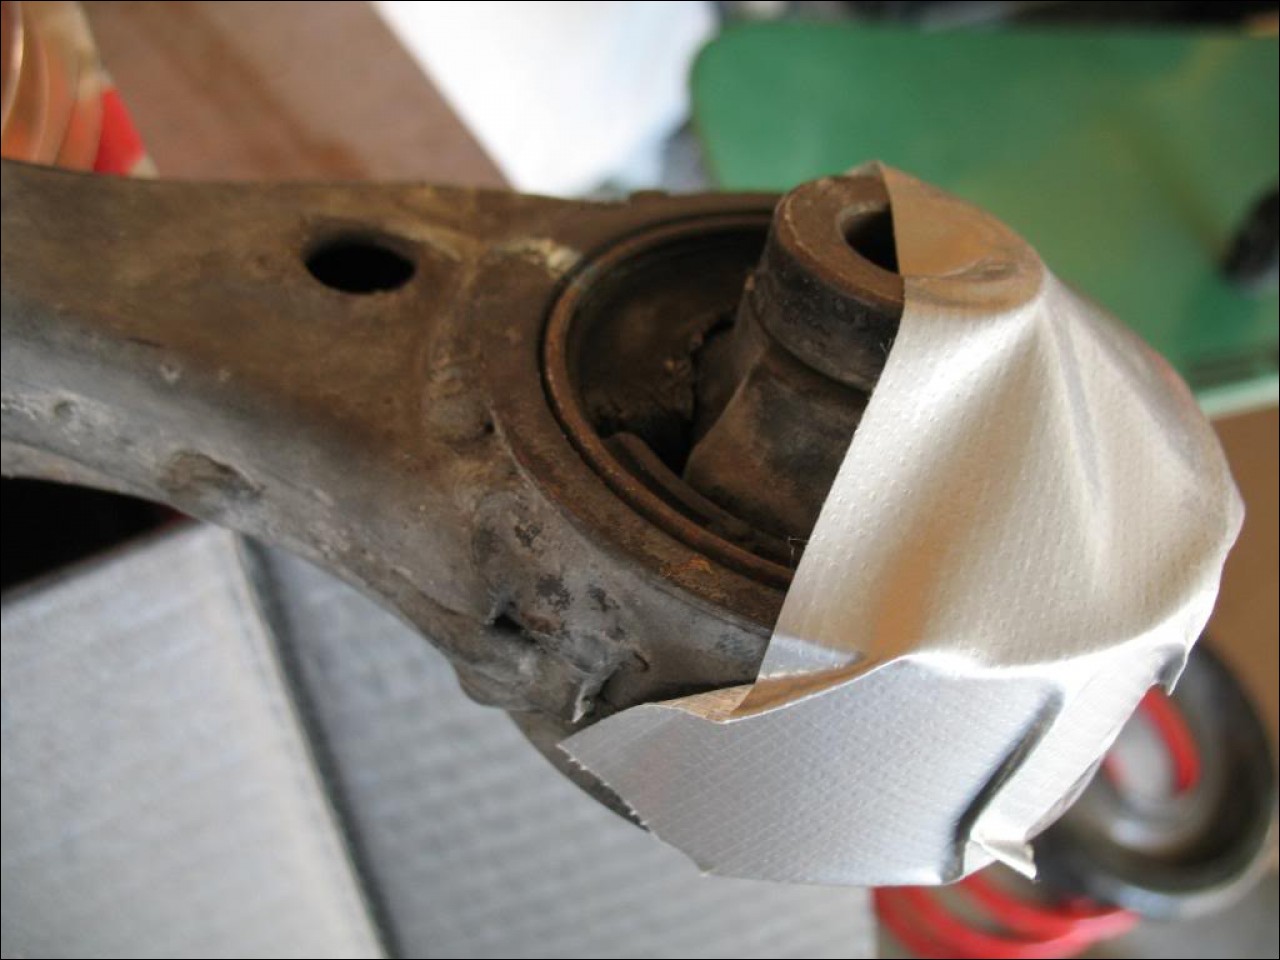 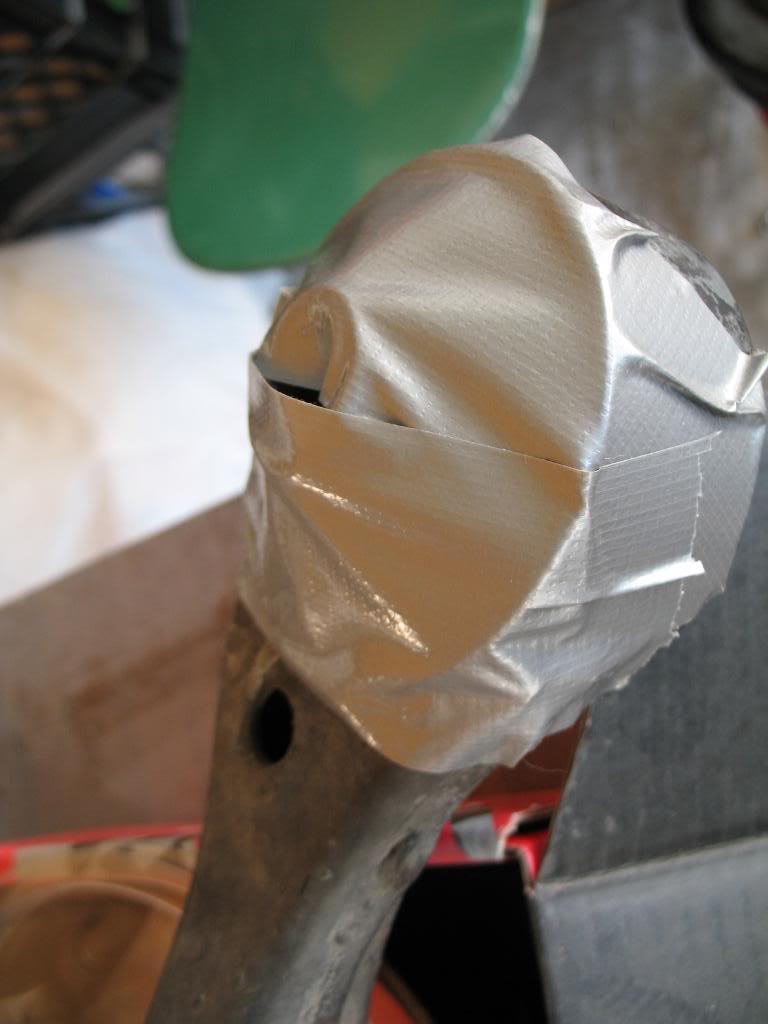  press on the bottom so polyurethane wont fill the cylinder  i also cut a piece of the lower part of the cup, and build a little wall around the TOP of the bushing mount area. that way, you can fill the polyurethane almost to the top. then saran wrap the bottom with some more ductape and more tape. MAKE SURE U TAPE IT WELL SO IT DOESNT LEAK. u will be sorry and make a big mess if it leaks. top view with the lil wall i built 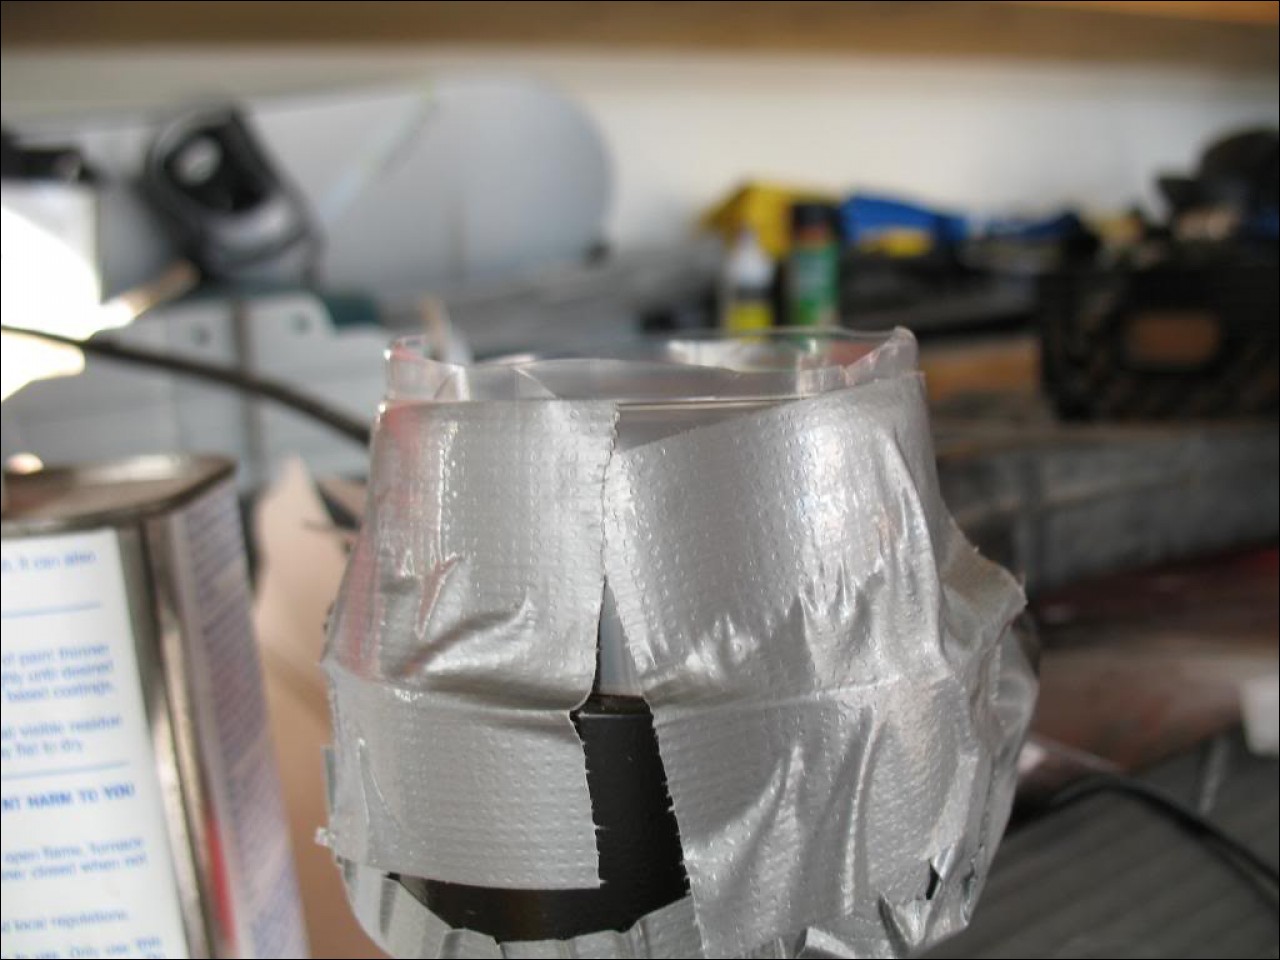 3.3 prep the polyurethane. there are a few polyurethane mixes you can use. devcon flexane is a good one. but its really expensive $50+ i used one i bought on ebay. search "LIQUID CASTING RUBBER Shore 75A" or the seller's name is "aeromarineproducts" http://cgi.ebay.com/LIQUID-CASTING-R...item4cf34e766c for those of you who are wondering, SHORE is the hardness/flex level. 1/2 a gallon is enough to fill every motormount and bushing for quite a few cars. unlike the devon flexane, u only get like 16oz (16oz = .125 gal) so on to the mixing! wear protection. includes gloves, and eyewear. it came with instructions as well, so i suggest u read that. 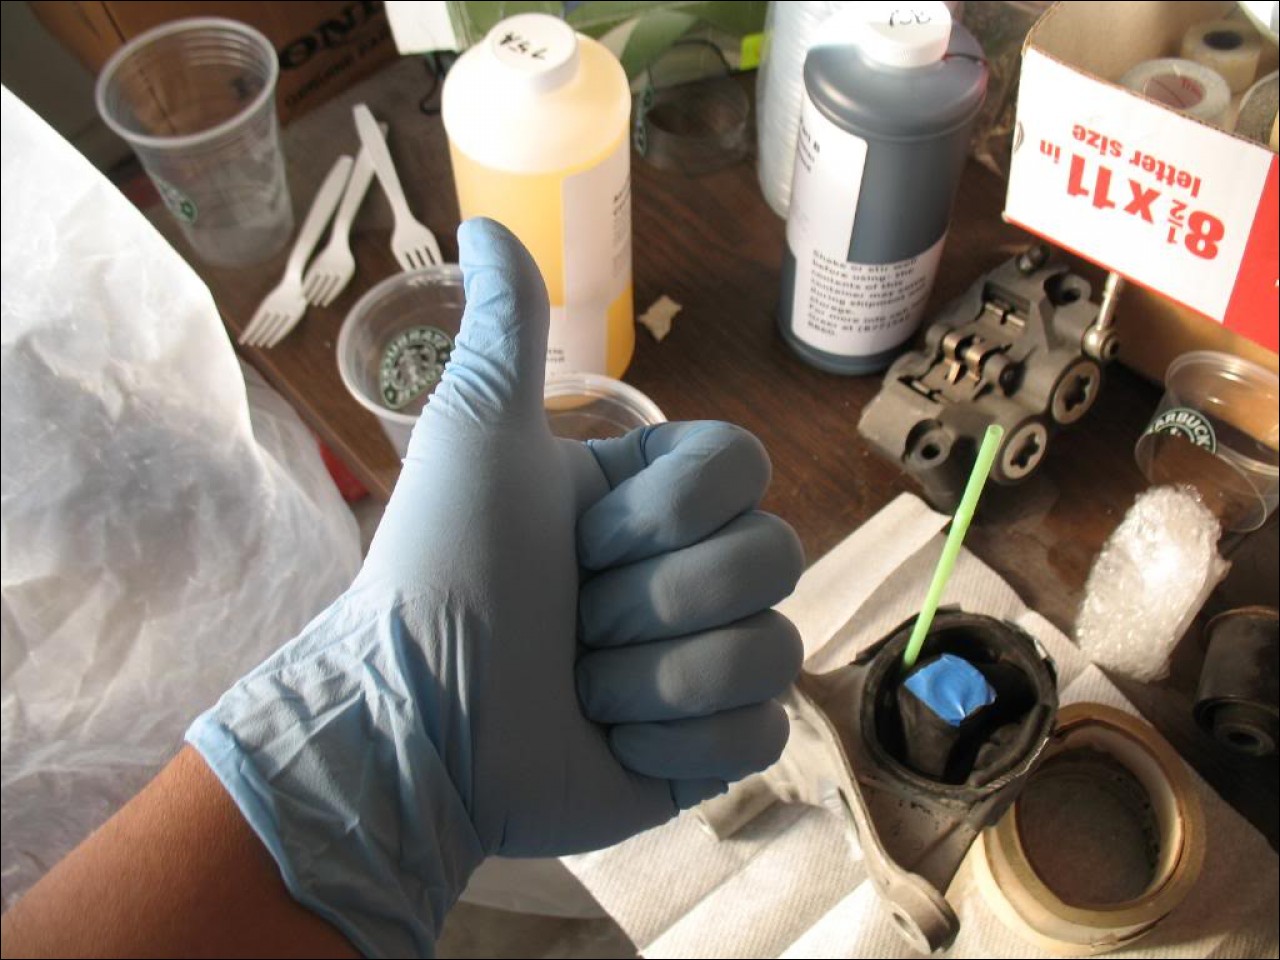 you want to mix it in a plastic container....not paper, wood...etc again read instructions that came with it. i work at starbucks so i get unlimited cups. 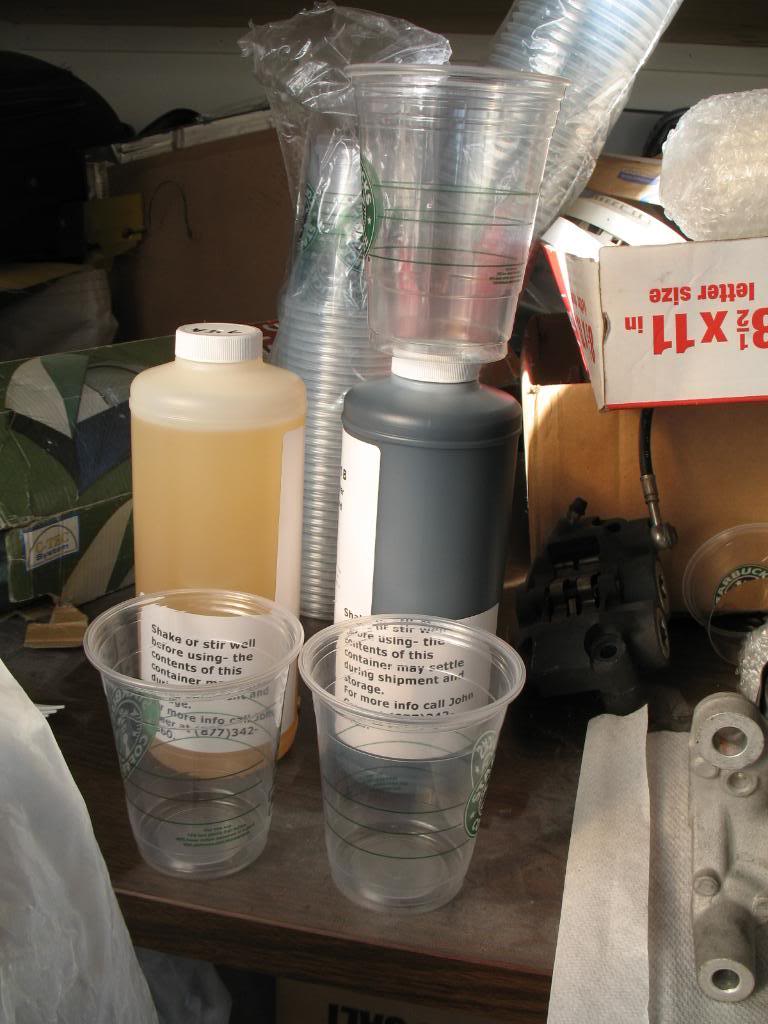 i poured and measure it  mix it for 1-2 FULL MIN. 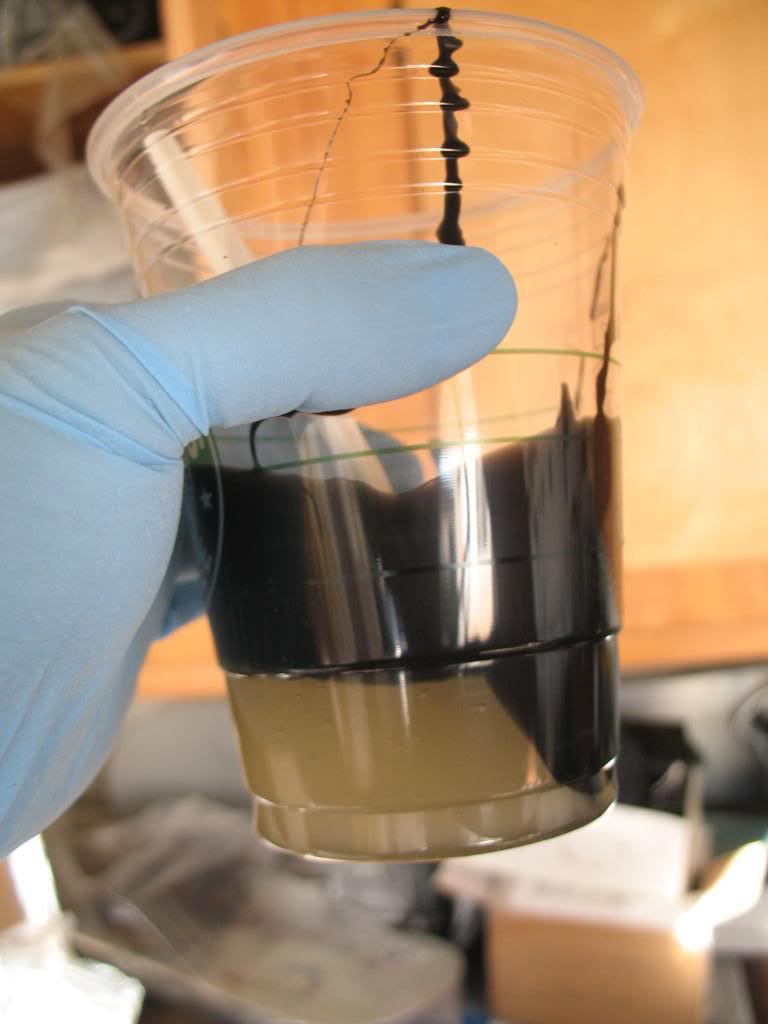 pour it in.  you will notice i put a piece of tape on the top of the metal cylinder thing. thats to prevent the polyurethane to come in and ill the hole. we dont want that.  AHH HA! it leaked a little, but the saran wrap saved it!!!  3.5 manual says it will cure in 5mins, and allow 12 hrs for it to dry before use. i would highly suggest u let it dry for at least 24hrs.  then take off the tape AND the lil wall made out of a cup. i use a dremel to slit a line in the middle and peeled it off. if u drive ur car everyday, you will notice that your handling/turning will be much more precise because it will have a LOT less flex from side to side. reinstall everything in the opposite order and ur done. go grab a cold one.
Polyurethane fill your Lower Control Arm bushings!
Submitted by xxx@******.com Revision 1 Article submitted on 4 Jul 2013 Last modified on 4 Jul 2013 Viewed 3512 times |
|
|
||||