Tools Needed: 10 mm flare nut wrench (brake line wrench) 12 mm wrench 14 mm wrench Vice grips Flat blade screwdriver (If installing Russel SS lines you should also have an 18 mm wrench)
I recommend using PB Blaster on all nuts/bolts before you attempt to loosen them.
Check to make sure that the brake fluid reservoir is topped off. Don’t leave the lid off of the brake fluid reservoir. Take it off, add fluid, put it back on.
Jack up the car and take off a wheel. We’ll work on the front first, for no particular reason.
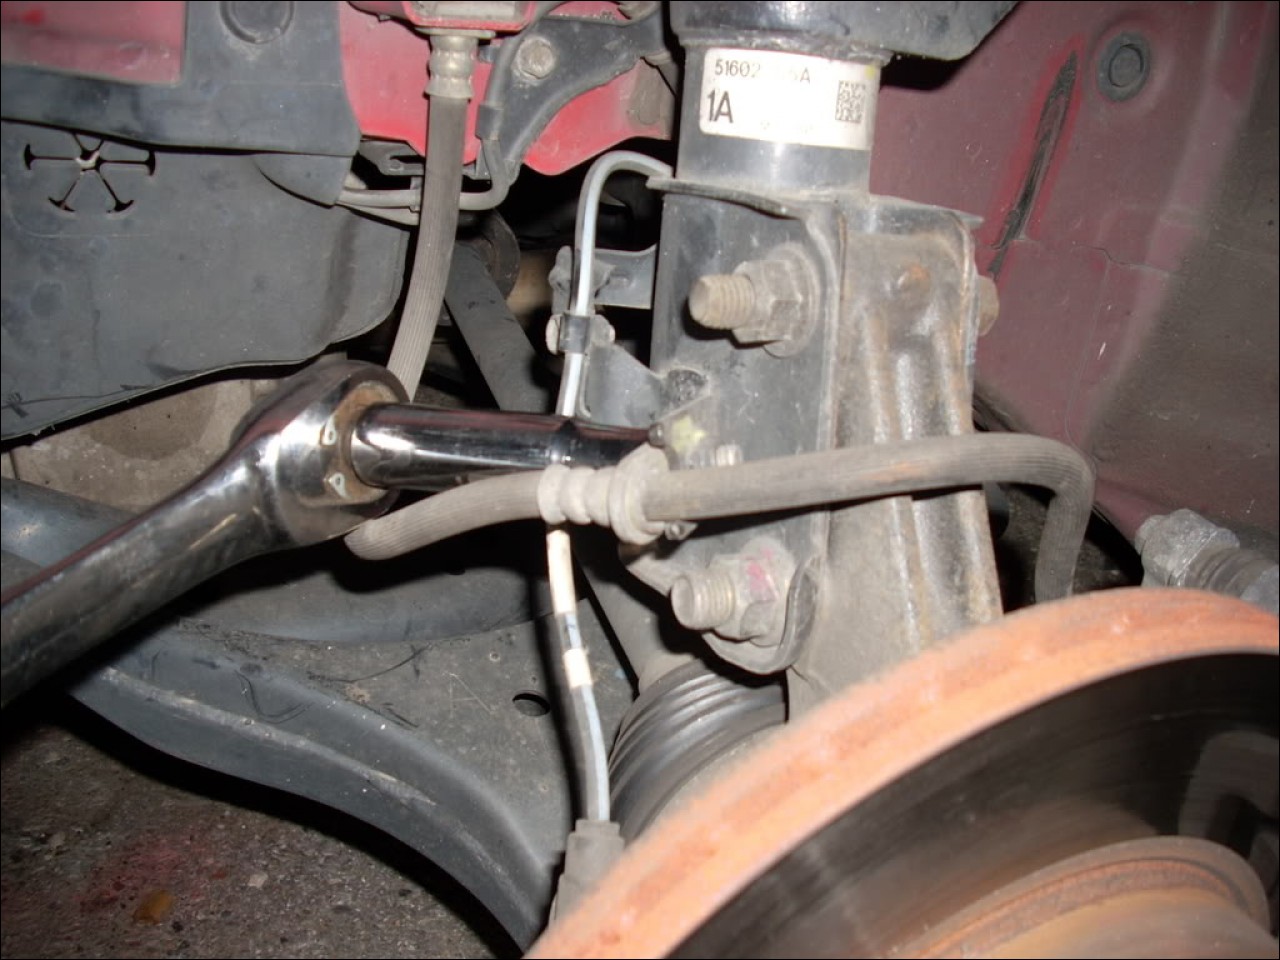
Unscrew the 12 mm bolt that supports the brake line in the middle.
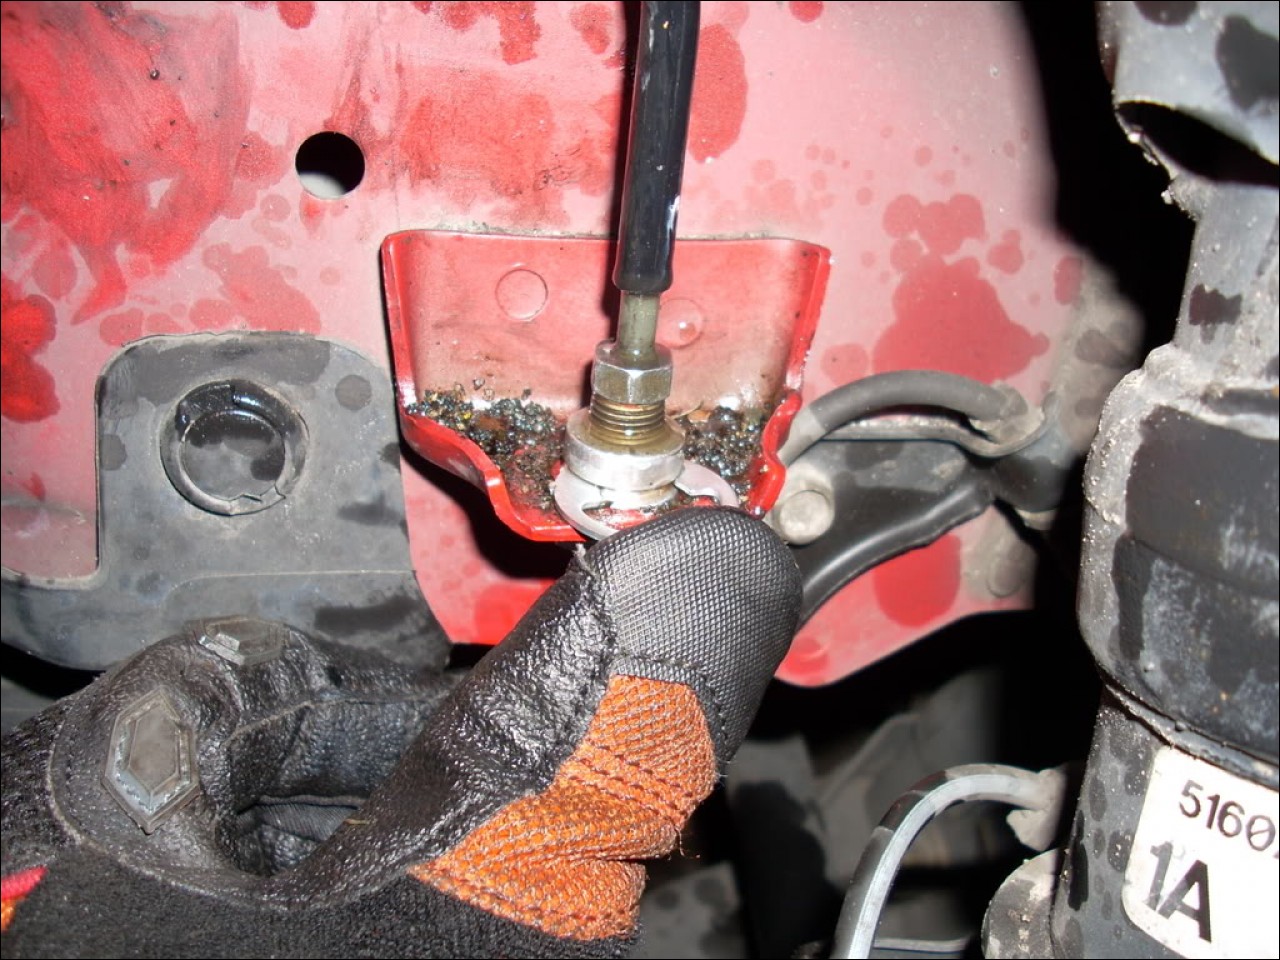
Pull off the retainer clip at the upper hose connection. Use either a screwdriver and pry it off, or vice grips and just yank it off.
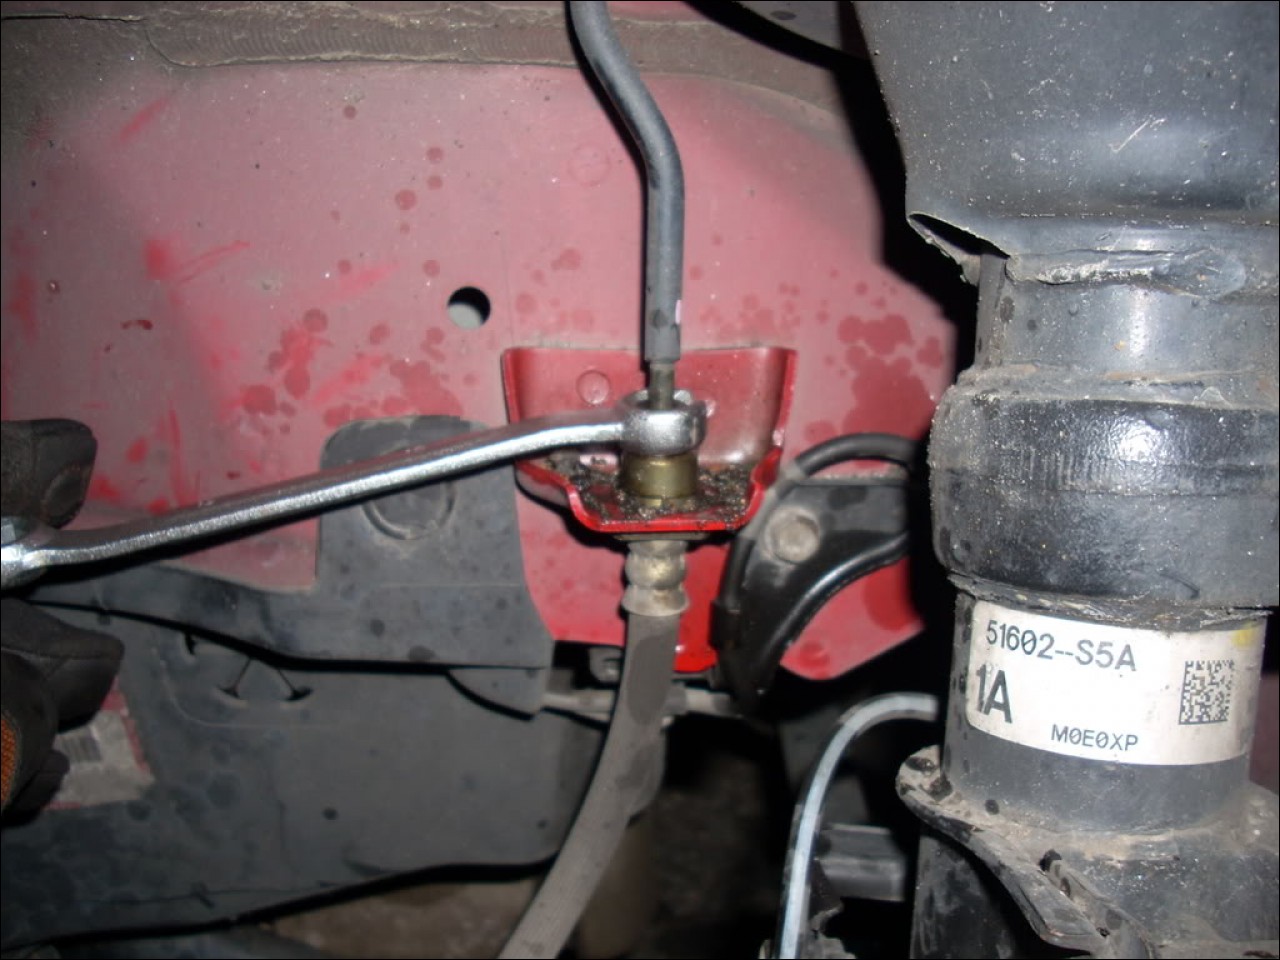
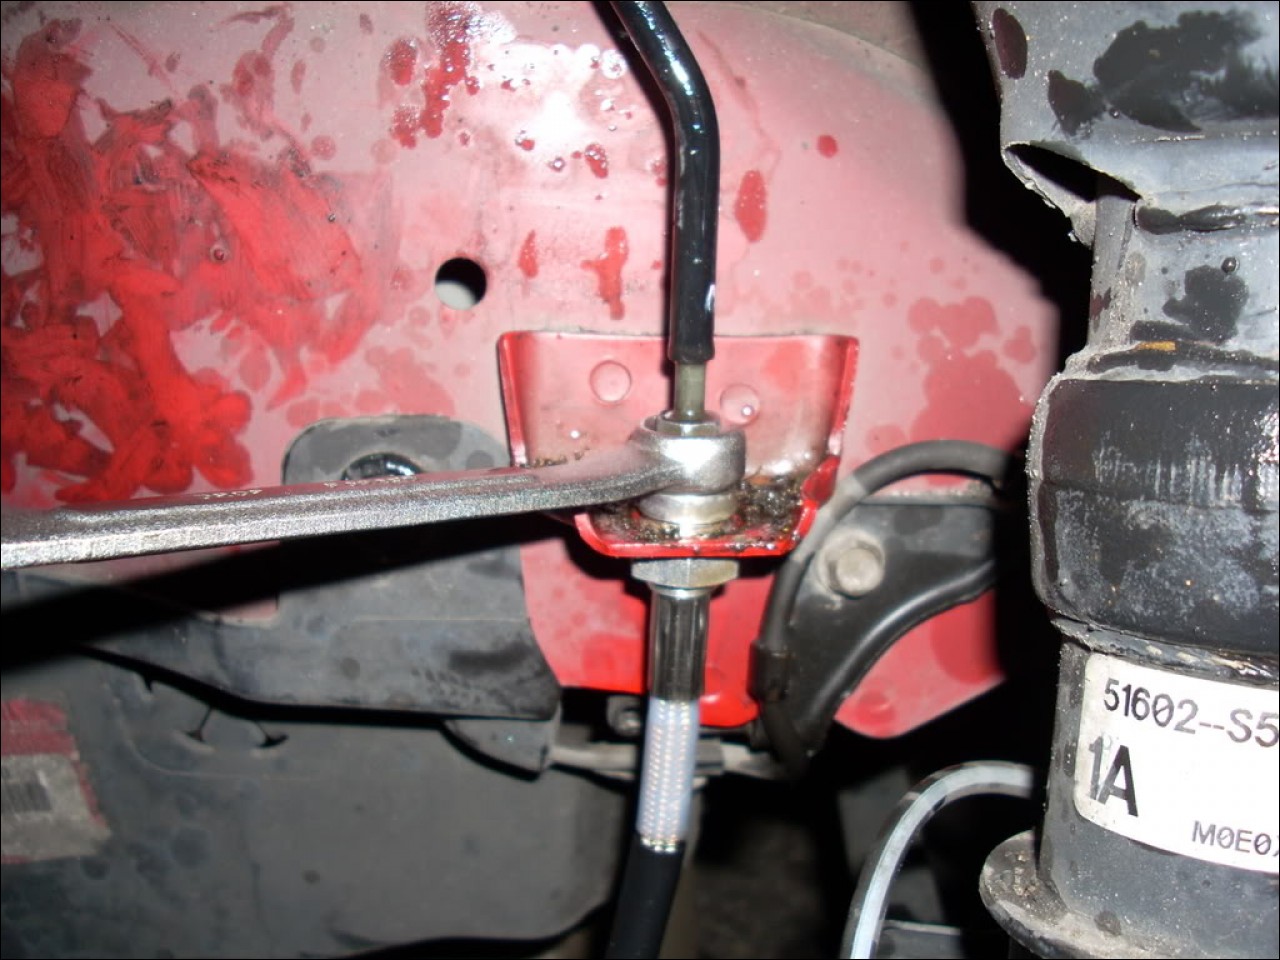
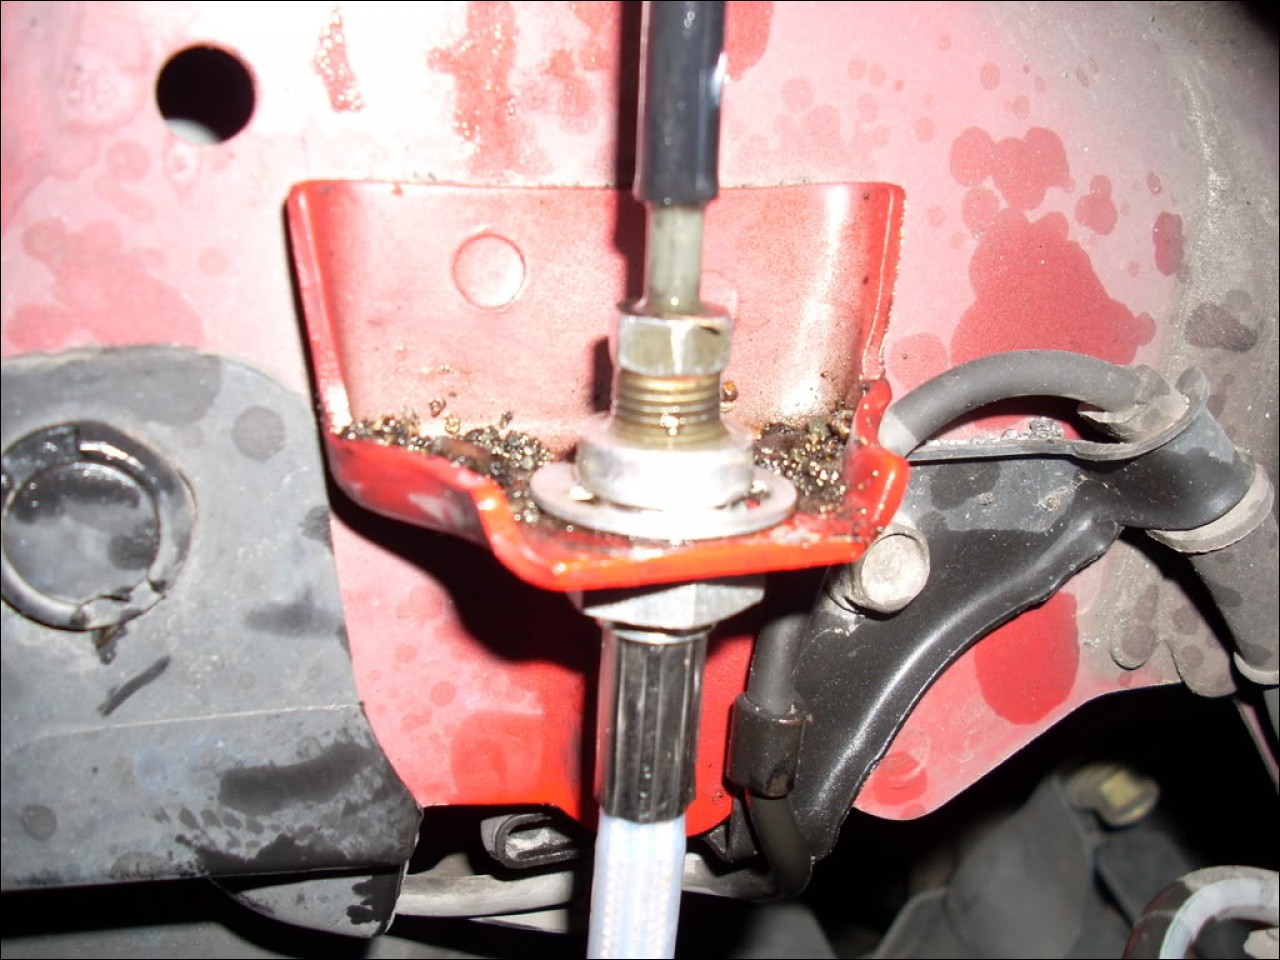
Use the 10 mm flare nut wrench and crack the brake line loose. Don’t unscrew it all the way yet. Don’t try to use a regular wrench, you’ll strip the nut. If you apply slight upward pressure on the soft line it will keep the lines from twisting while you unscrew the nut.
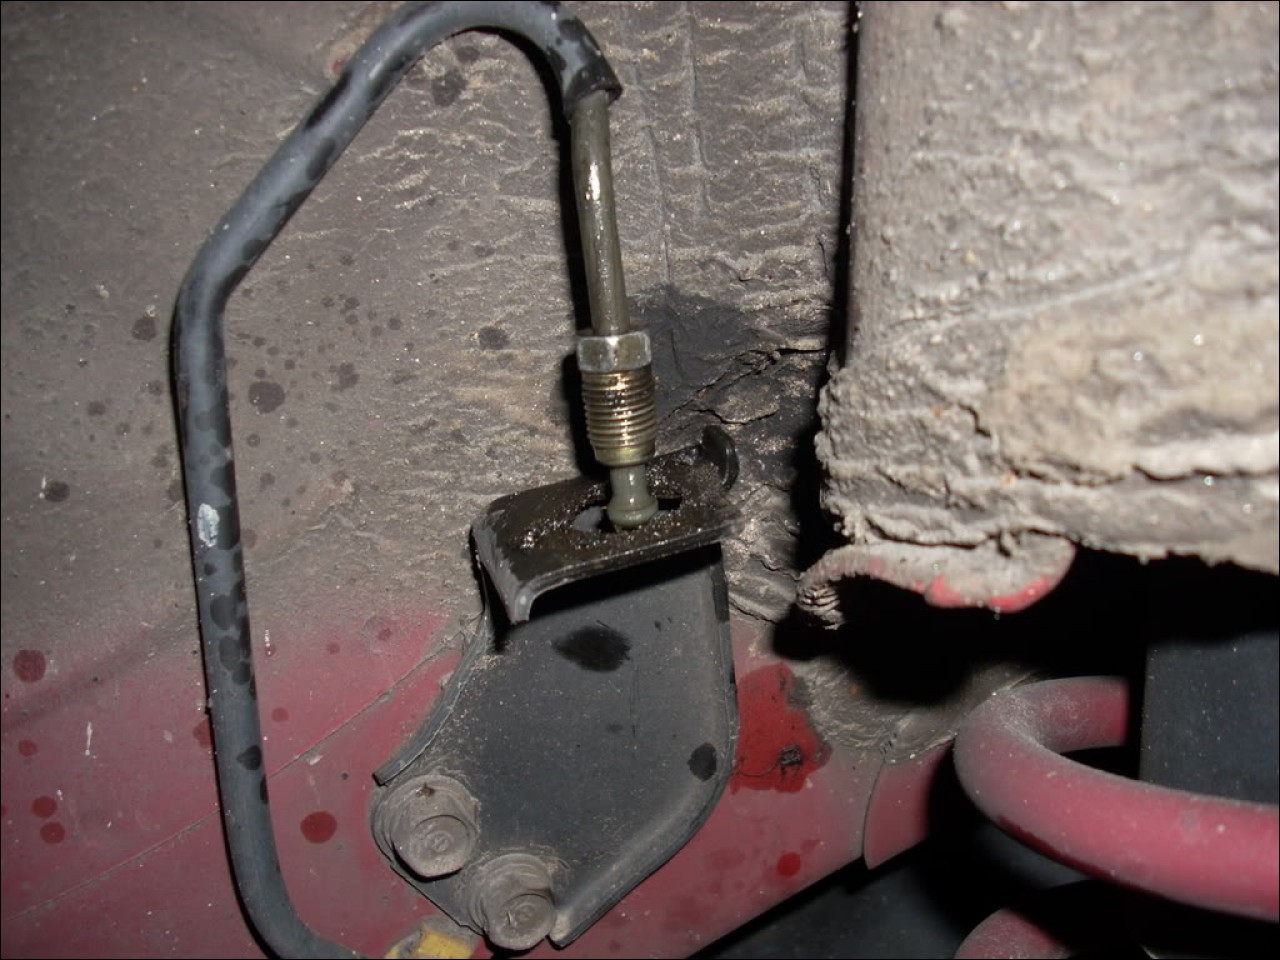
Follow the line to the rear of the caliper. You’ll need to use a 14 mm wrench to remove this bolt.
Once you remove the bolt fluid will start dripping out. You won’t lose much, you don’t need to rush. But don’t take a break and take a **** or anything. You don’t want to completely drain the fluid reservoir or else you’ll need to have the master cylinder professionally bled. But you could probably have the line disconnected for 20 minutes or so before you completely drain the reservoir.
This is what the bolt/line will look like. The bolt is hollow and fluid runs through it. There is a washer on each side of the bolt/brake line surface. If your kit doesn’t include new washers be sure you don’t lose these. My Russel kit included new ones.
Now disconnect the top connection and remove the rubber line.
Take the brake line and throw it in. (This is a pic of a rear line. The front is longer, and has a round end that the bolt fits through. The Russel kit marked which were front and which were rear). I started with the caliper side. Line up one washer between the bolt head and the brake line, the other washer between the brake line and caliper. Screw it on in there (14 mm). Then connect the top portion with the flare nut wrench (10 mm).
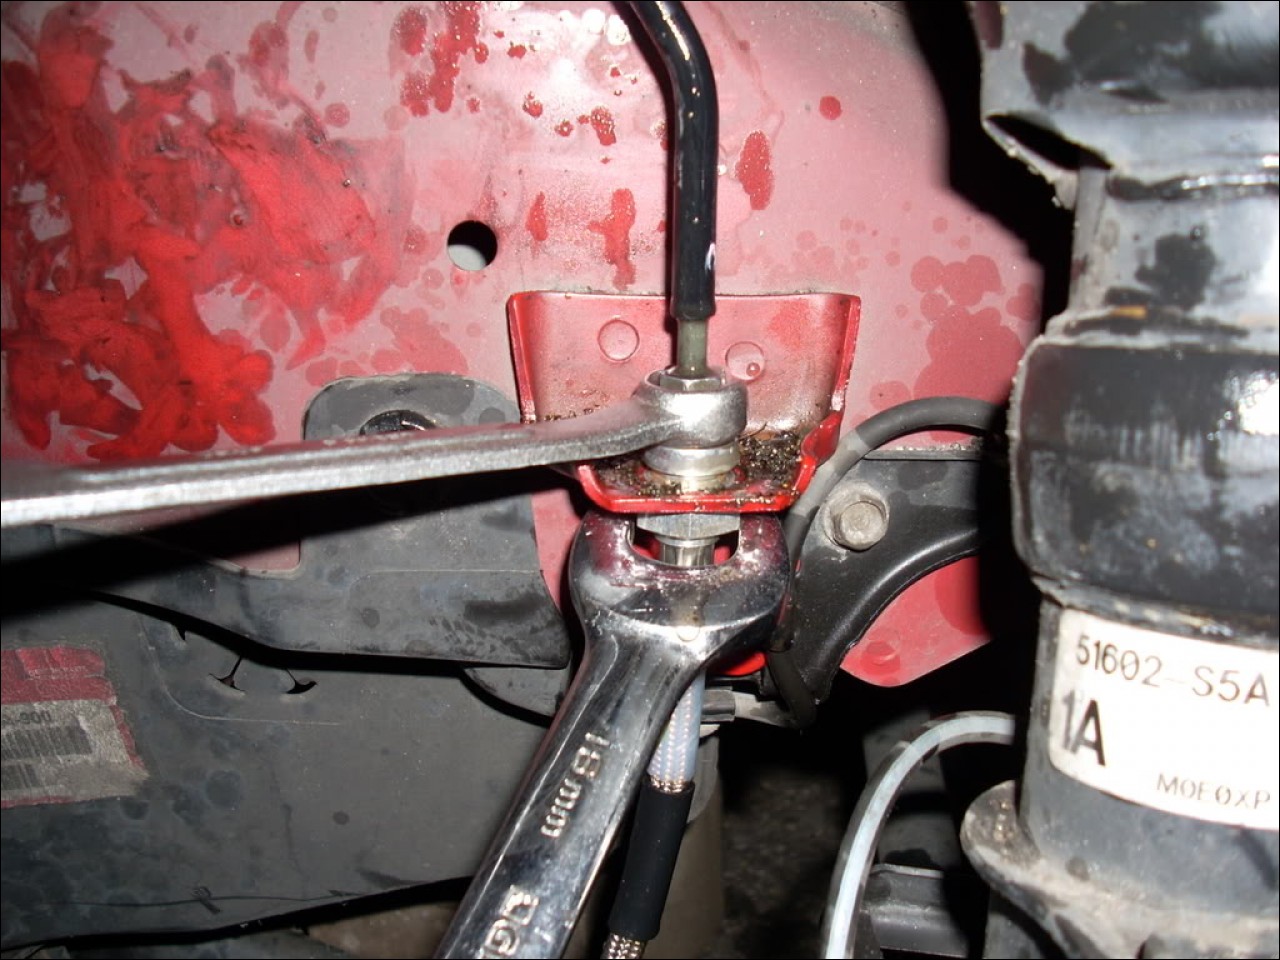
The OEM lines will wedge themselves in to keep from rotating as you tighten the line. The Russel lines have an 18 mm nut to hold them from rotating.
Install the lock clip.
Bolt down the support half way down the line (12 mm).
The front is done
Top off the brake fluid reservoir and put the cap back on.
The rear is similar. It is shorter, so there is no support half way down. And both ends of the line are the same as the top connection on the front. So both have retaining clips, and will require a 10 mm flare nut wrench.
Remove the retaining clips on both ends.
Break the top connection (with the 10 mm flare nut wrench) but don’t completely unscrew it. Unscrew the bottom one completely, then disconnect the top.
Install the new line. Tighten down using the 10 mm and 18 mm wrenches, just like on the front (or with just the 10 mm flare nut wrench, if you’re installing OEM lines).
Install the retaining clips.
Refill the brake fluid reservoir
Do the other side, then bleed the brakes. Say hello to a firmer brake pedal with better feedback.
How to install stainless steel brake lines (or OEM brake lines)
Submitted by xxx@******.com
Revision 0
Article submitted on 4 Jul 2013
Viewed 2534 times
Please enable / Bitte aktiviere JavaScript! Veuillez activer / Por favor activa el Javascript![ ? ]