|
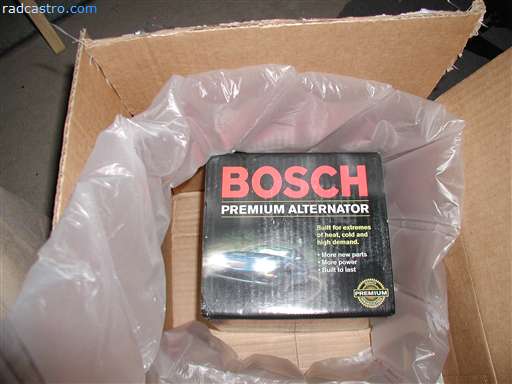
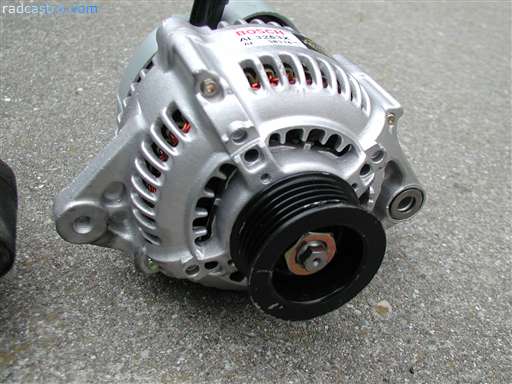
Modification Type: Performance/Electronics Difficulty of Install/Modification: Easy Preparation And Install Time: 30 min Let's get to it. This is just an alternator install so for those of you who are new two the car thing, relax and follow. Below is the alternator brand I went with. Good brand. Very reliable.
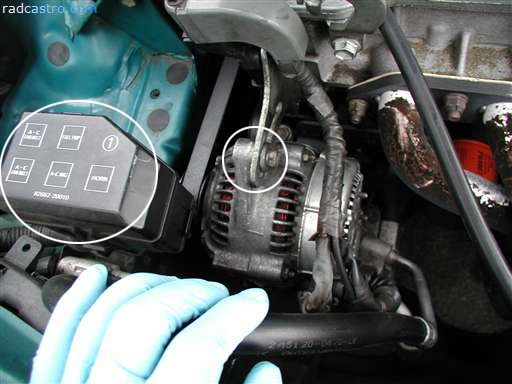
First thing's first...disconnect the battery. Always disconnect. The second thing we need to do is unlatch the fuse box on the left and remove the bolt on top (designated in the small circle): Figure 1
Figure 2
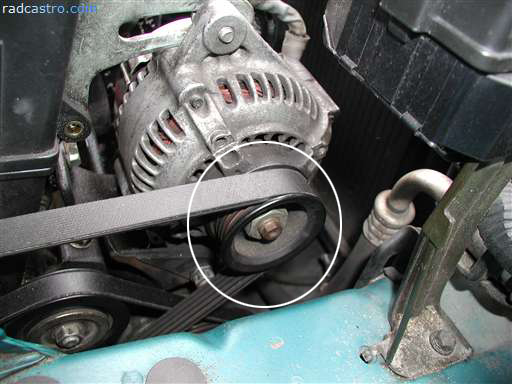
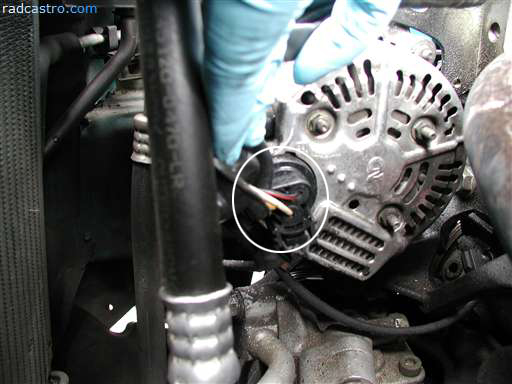
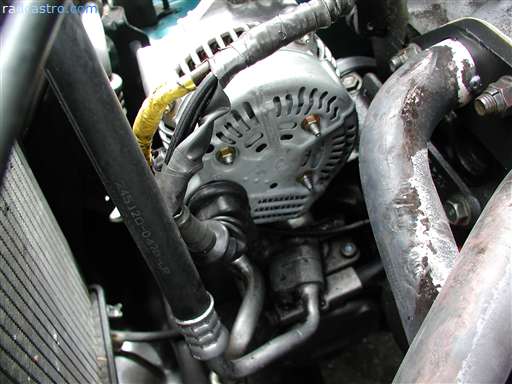
Push the alternator towards the engine and you should be able to have access to this particular connection. Remove the sleeve and you should see a small bolt holding the mounted wire. Unbolt it from the alternator. Figure 3
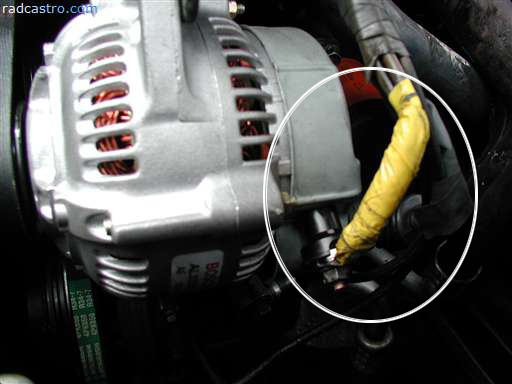
The next thing we need to do is remove the side connection. Move the sleeve over. Figure 4
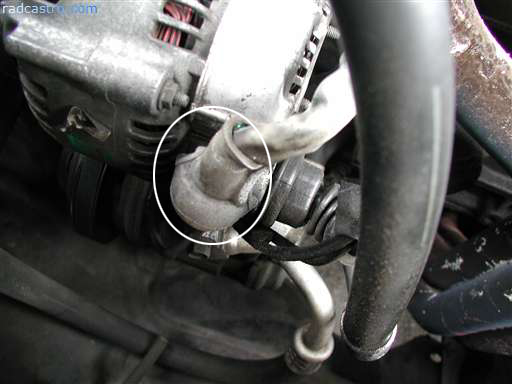
After moving the sleeve, you should see a small tab you can hold on to make the removal of the connection easier. Figure 5
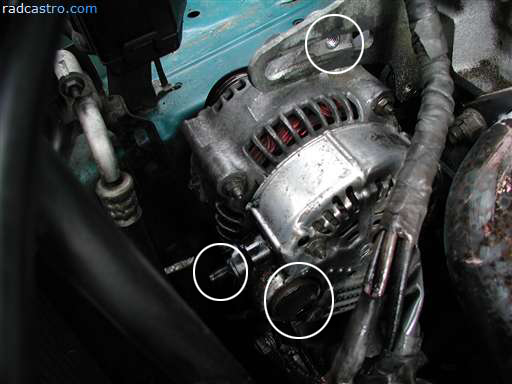
Once you remove both of the connections, your alternator should look lonely like this... Figure 6
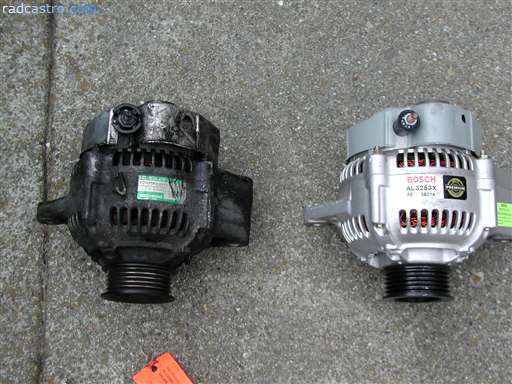
Figure 7 Here are now the comparisons of the old vs. the new. Figure 8 (top view)
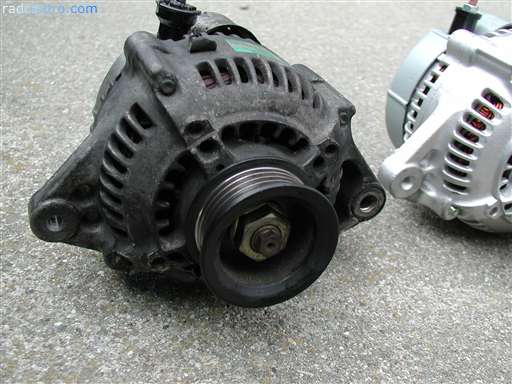
Figure 9 (side view old)
Figure 10 (side view new)
Figure 11 (another view)
From here installing will be a breeze. All you need to make sure is that you do not overtighten the belt (or make it too loose) on the alternator pulley when you bolt the alternator back on. Make sure you have the sleeves in all the way to protect the wires from the heat of the headers or the manifold. Figure 13
Figure 14 Other than reconnecting the battery. That's it! Now your car is working again!
-End of Article- Submitted by xxx@******.com Revision 0 Article submitted on 30 Mar 2010 Viewed 4480 times |
|
|
||||