|
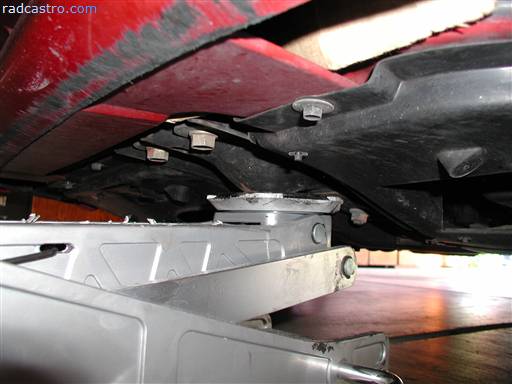
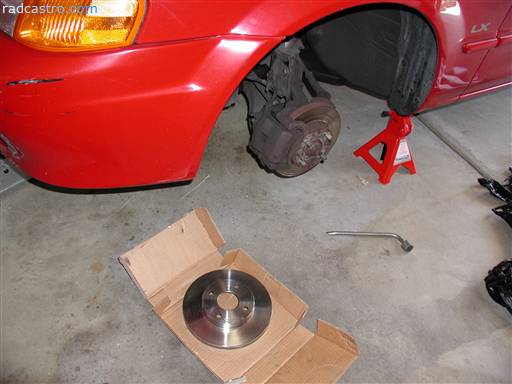
Mazda Protege Brake Rotor Replacement And Brake Pad Replacement Here are the proper jacking procedures. Here's is the front of the car with a hydrolic.
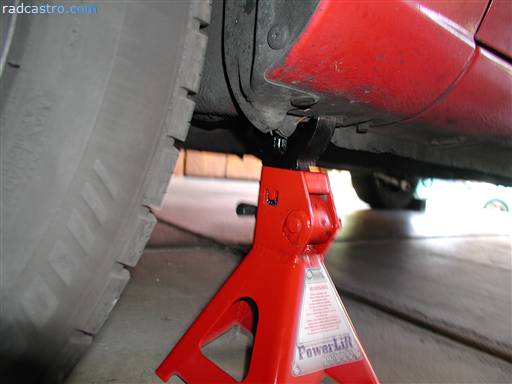
Passenger side raised
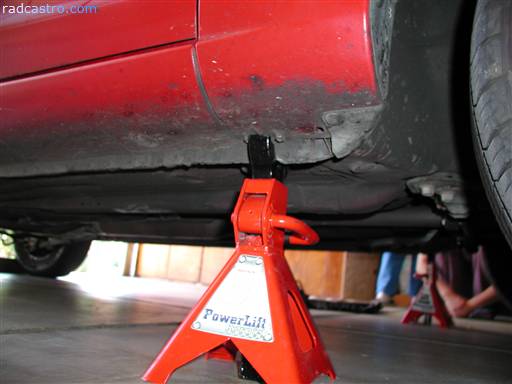
Driver's side raised
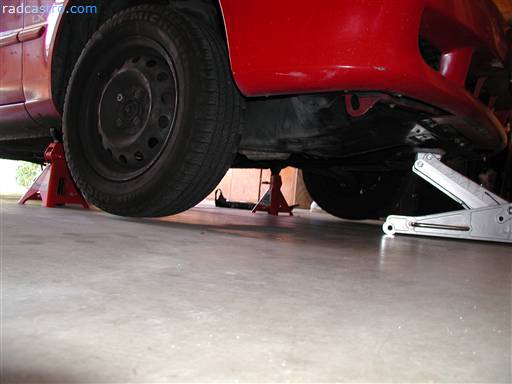
All three raised
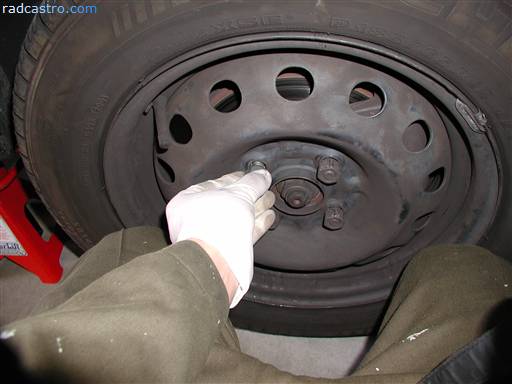
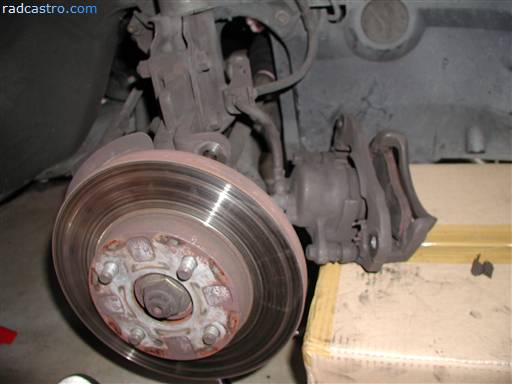
Remove the wheel
New rotor on ground, rotor replacement now ready
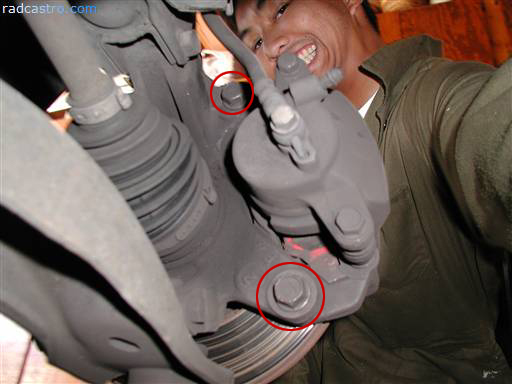
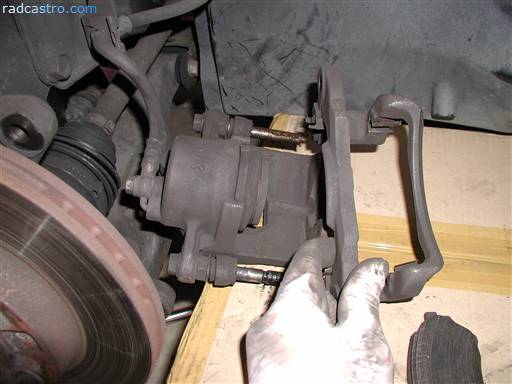
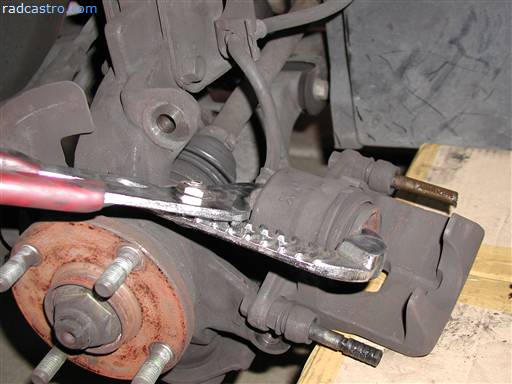
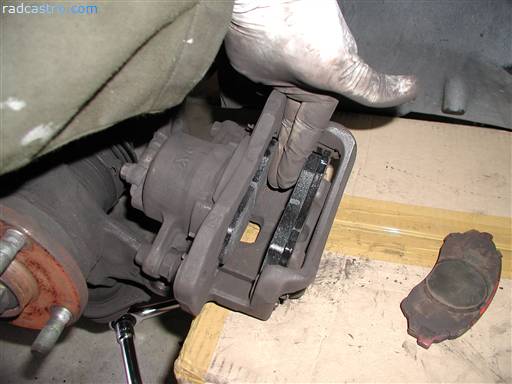
Now that the caliper is exposed. We remove the caliper from behind as so.
The caliper should be loose from the rotor but maybe a bit harder to take out. This is where we can use the crowbar to remove the caliper properly without damaging anything else.
Place the caliper on somewhere high enough. Possibly a sturdy box.
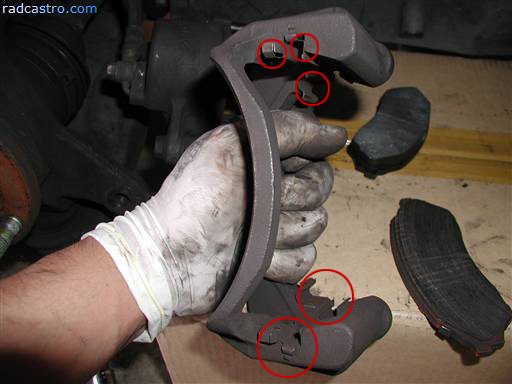
Remove the upper brace from the caliper. I wish the celica calipers did this. For the celica calipers, you cannot separate the caliper like this for convenience. Again this is just a good reference for the celica brakes if you're planning to replace rotors or brake pads.
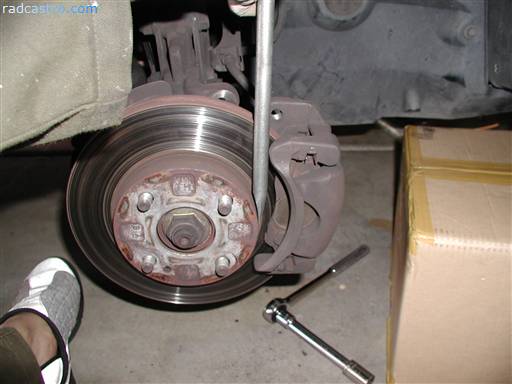
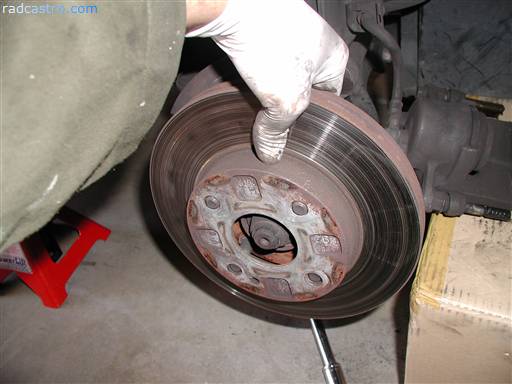
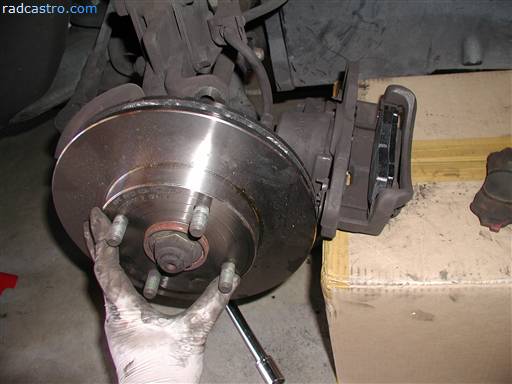
Try to take out the older rotor carefully without damaging the wheels' bolts. Very important if you want your lug nuts / wheel bolts to last.
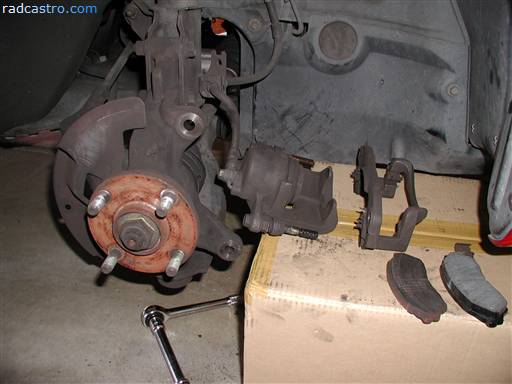
After complete removal of the brake assembly, here is the caliper, pads, and wheel bearing.
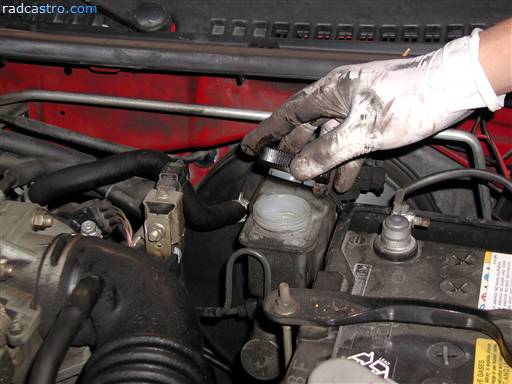
The next thing we need to do is open the brake fluid reservoir...
So that we can compress the caliper's piston.
After that is done, we have to make sure that we have all the necessary shims and clips necessary to place back the brake pads.
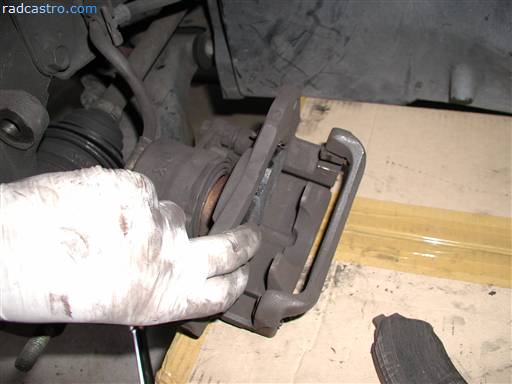
Reassemble the caliper and place the first of the brake pads in
Make sure you do the same on the other pad and make sure there's a fingers length between the two pads. There should be enough clearance between the two pads to fly through the rotors without any major scratching
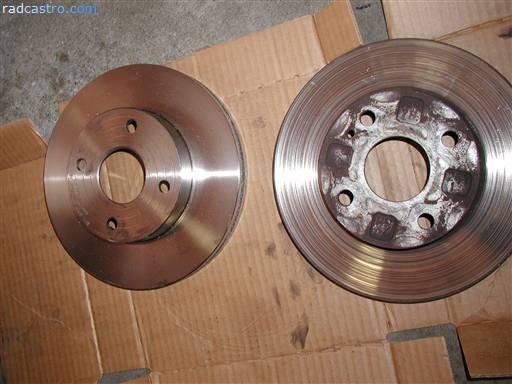
Here's a comparison of the rotors
Here's the jacked up rotor
Again going back to the task at hand, make sure you place the rotor carefully back through the wheel bolts.
Make sure the rotor is aligned properly and that the caliper won't have any problems being remounted onto the new rotor. Basically you're done. Make sure you use some good CRC brake cleaner to clean all the brake parts before putting everything back together.
Submitted by xxx@******.com Revision 0 Article submitted on 30 Mar 2010 Viewed 7415 times |
|
|
||||