|
The front rebuild kit does both front calipers and will come with the following items: Slide Pin dust boot x8 Caliper O-ring x2 Caliper Piston dust boot x2 Caliper Piston dust boot snap ring x2 Banjo washers x4 packet of soap based lubricant 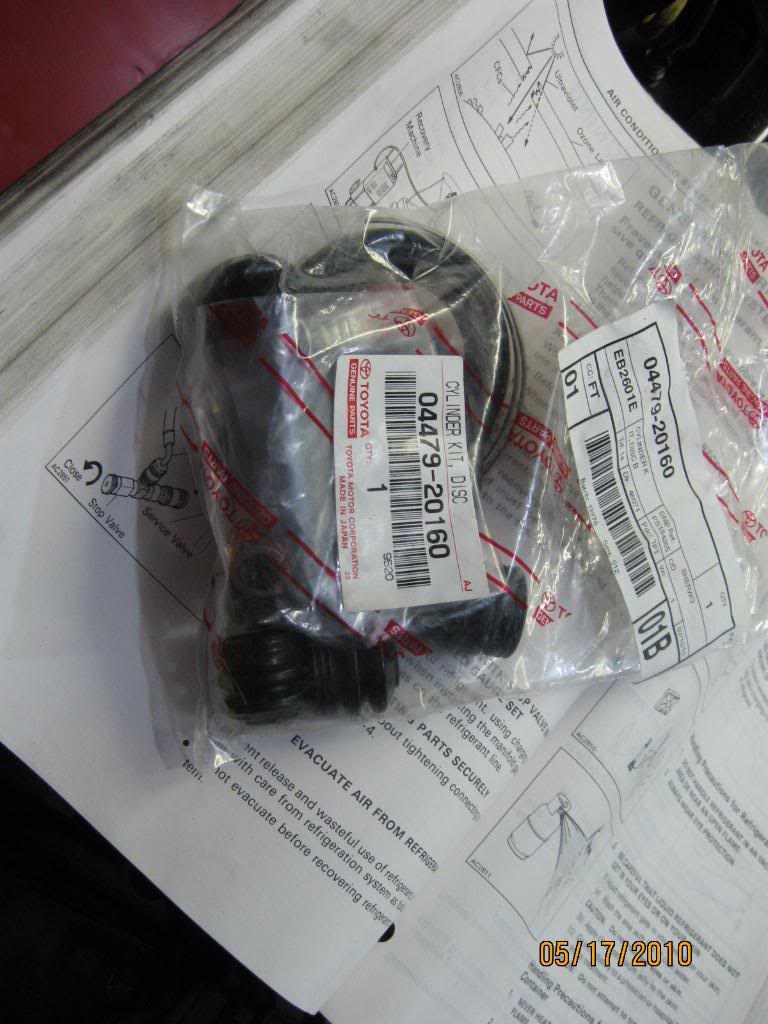  Items needed: Safety glasses Dust mask Nitrile gloves (I used latex in photos since I was removing them to take pics - the latex will not stand up to the brake cleaner or fluid very well) 14mm wrench (Caliper/banjo bolt removal) 8mm flare nut wrench (bleeder valve removal) small screw driver or pick (O-ring removal) brake hone (caliper cylinder honing) drill (honing/cleaning) brake cleaner (for cleaning) tooth brush/wire brush (for cleaning) compressed air (not required) 1x4 piece of wood (any thin piece of wood will work) Front Caliper rebuild kit (04479-20160) 600 grit metal sand paper Marine bearing grease Step 1 (I am lumping the first few steps together for ease of clarifying the different methods) This will be different for you if you do not have access to compressed air - See Step 1A if this is the case. -Loosen and remove the brake line banjo bolt. Support brake line so not all the fluid is removed from the system. I also recommend covering the brake pads/rotor with a towel to protect from dripping fluid.  -Loosen (just loosen at this time) bleeder valve with 8mm wrench -Using a 14mm wrench or socket/ratchet remove the caliper from the bracket - Pour as much fluid out of the caliper as you can. - Place the 1x4 piece of wood into the caliper, I recommend placing the caliper onto the wood, so you can hold the caliper down and cover with a towel to prevent fluid from spraying everywhere. - **Keep hands clear of the piston/caliper interior as you may be injured if your fingers are crushed by the piston** Using the compressed air and blow nozzle, blow air into the caliper in small bursts. You can also pull the nozzle back to reduce the pressure thereby slowing the travel of the piston until it is pressed against the wood.  Step 1A (for those without air compressors) *Also keep in mind that you will need to complete one caliper prior to moving to the next or you can do them both at once, but you may require some assistance. -Using a 14mm wrench or socket/ratchet remove the caliper from the bracket -Now support the caliper and place the 1x4 piece of wood into the caliper. The reason for this is so that a) the piston/caliper is not damaged, b) the piston does not fly out. -Cover the caliper with a towel as the brake fluid may spray out as the piston is pushed out. (Brake fluid is bad for paint) -Pump the brake pedal until the piston is pushed against the piece of wood. This will take quite a bit. -Loosen the bleeder valve with the 8mm wrench -Loosen and remove the brake line banjo bolt. Support brake line so not all the fluid is removed from the system. I also recommend covering the brake pads/rotor with a towel to protect from dripping fluid. - Pour as much fluid out of the caliper as you can. Step 2 -Remove piston from the caliper and drain remaining fluid. Inspect piston for any scores or major grooves. If any are present you may need to replace the piston.  Step 3 - Remove piston dust boot and snap ring. Remove caliper O-ring being careful not to scratch or gouge the wall.  Step 4 - Remove slide pins, then remove dust boots. Remove pins by pushing from one side and pulling from the other.  Step 5 - Clean Caliper, piston, and slide pins. I used brake cleaner and a tooth brush. Inspect piston and slide pins for gouges or deeps scratches, replace as necessary. I used 600 grit sand paper to remove some surface rust from the slide pins and a spot on the piston. Also clean the interior of the slide pin, i used the sandpaper wrapped around a pen to clean and de-burr.  Step 6 -Hone the caliper using the brake hone and some brake fluid or light lubricant. The point of this is only to remove surface contamination and insure a smooth surface. This should only take 30 seconds of honing.  Step 7 -Clean the caliper again. Be sure to clean all the grooves in the caliper and rinse thoroughly. Allow the parts to dry completely before moving to the next step.  Step 8 -Lube up the caliper O-ring and seat it into the caliper. You can use the supplied lubricant  Step 9 -Lube up the sides of the piston with the supplied lubricant. Now apply even force and seat the piston into the caliper. Be sure to line the piston up evenly. This will take some force, but should not require too much.  Step 10 -Install piston dust boot and snap ring. Be sure to install with the concave base of it facing outward, then install the snap ring. Be sure the snap ring is securely in place. Now seat the top of the boot into the groove on the piston.   Step 11 -Install the slide pin boots. Lube the interior of the boots with Marine bearing grease. (I use this since it is potentially exposed to the elements and has a higher melting point than the liquid boiling point of DOT4 brake fluid) You will be pushing the slide pins through the boots is why you are lubing them up as you cannot install the boots with the pins in place. You can squeeze them together to be sure they are seated - think the opposite of the Chinese finger trick.   Step 12 -Lube the slide pins and press them through the boots. Seat the inner portion of the boot onto the grooves in the slide pins. When you are done the caliper should look something like the pic below.  Step 13 - Install bleeder valve Step 14 - Reinstall Caliper Step 15 - Bleed brakes Submitted by xxx@******.com Revision 0 Article submitted on 8 Oct 2010 Last modified on 9 Nov 2010 Viewed 3963 times |
|
|
||||