|
Rear Stabilizers (Sway Bar) Modification Type: Performance Difficulty of Install/Modification: Moderate Preparation And Install Time: 1.5 hrs How stiff is good? Is more better? Anti-sway bars do several things. They reduce body roll in turns. This is good, so more is better if this is all we consider. The ratio of the stiffness of the front bar to the stiffness of the rear bar will have a huge effect on understeer or oversteer. As the stiffness of the rear sway bar is increased understeer will decrease, eventually leading to oversteer. So don't go sticking a massive rear anti-sway bar on a Celica with no front anti-sway bar (or a small diameter front anti-sway bar), the result could be dangerous handling (Oversteer is tricky, if you don't correct for it you spin out. Understeer is safer, you just run wide in a turn and you can easily turn in tighter to compensate. Almost all new vehicles are designed to understeer). NOTE: The following article is for the installation of the Suspension Techniques sway bar for the 5th gen. Because the installation requires lowering of the fuel tank, things can happen. IT IS IMPORTANT THAT YOU HAVE THE FUEL TANK CLOSE TO EMPTY. By reading this article, you agree that radcastro.com and its affiliates are not accounted or liable for any damages that may be caused or ensued by the reader, direct or indirect. With all the legal issues out of the way, I'm not sure if this is the same way with the All-Trac (aka ST185). So, someone please confirm this. With that said get the following tools ready:
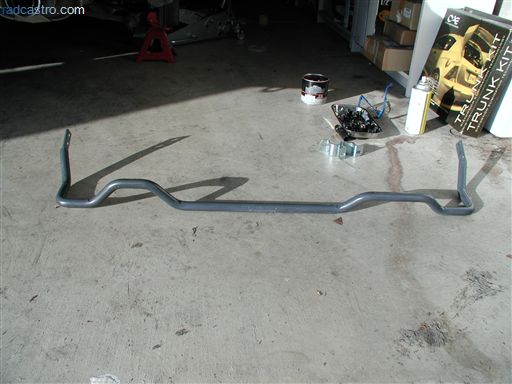
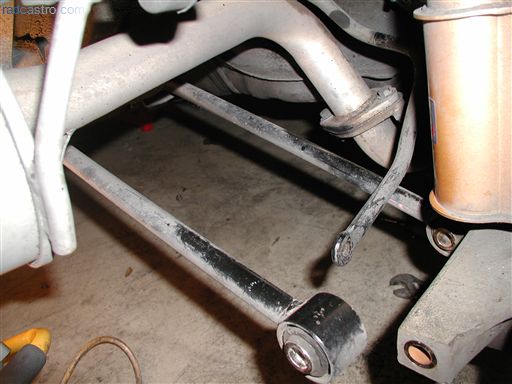
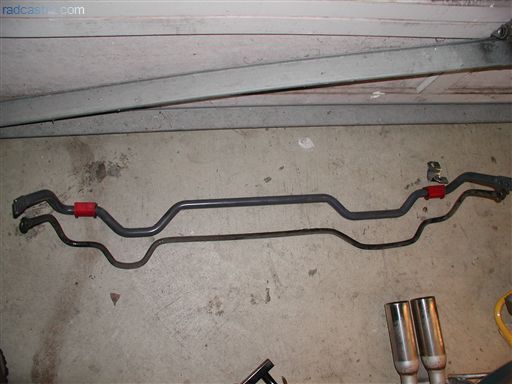
Here are some pics of the rear stabilizers.
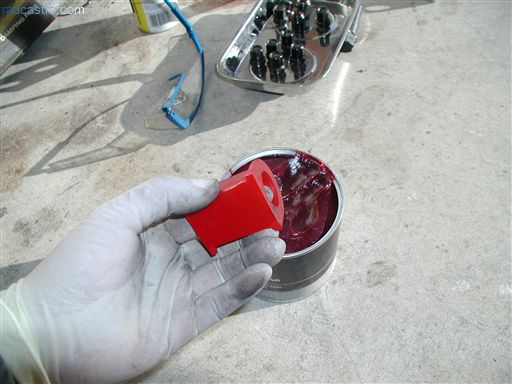
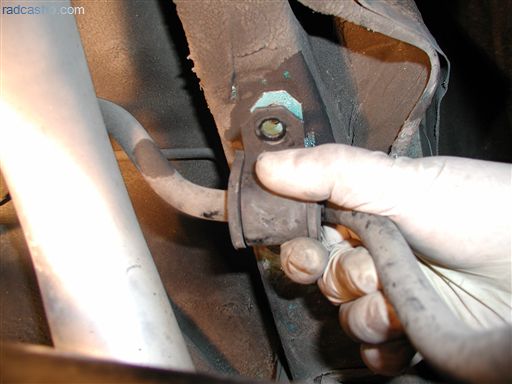
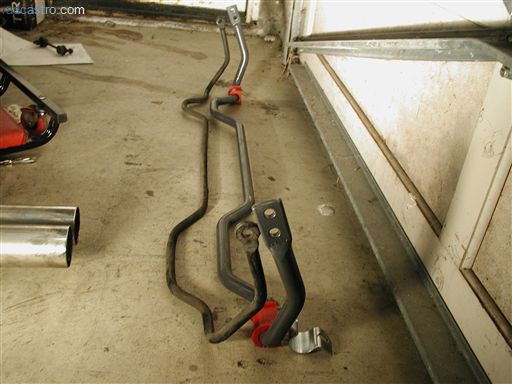
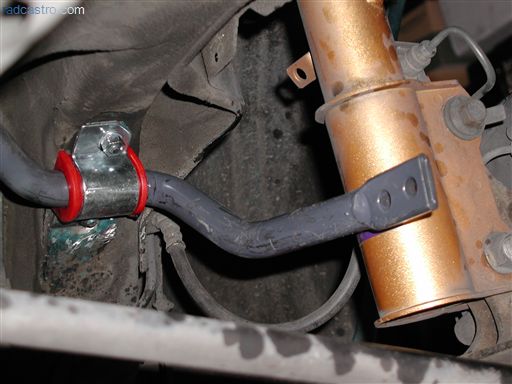
First, we'll grease the links (bushings).
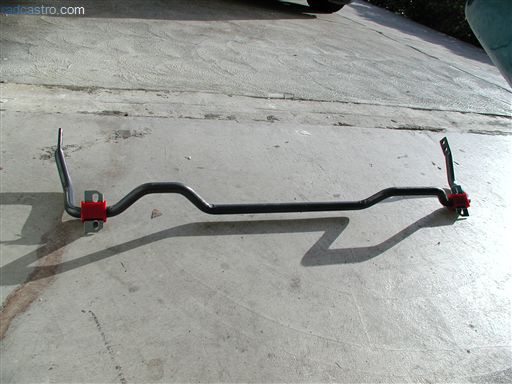
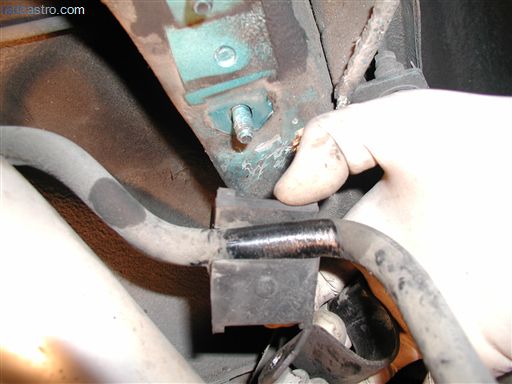
and then set up the bar with the brackets.
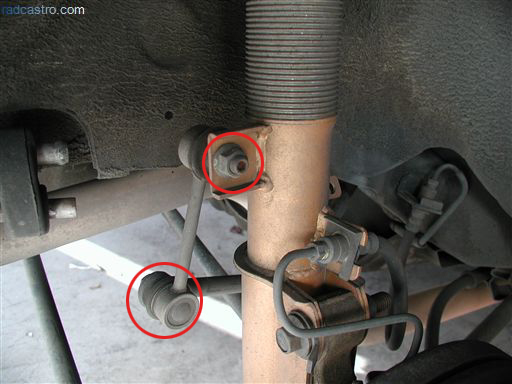
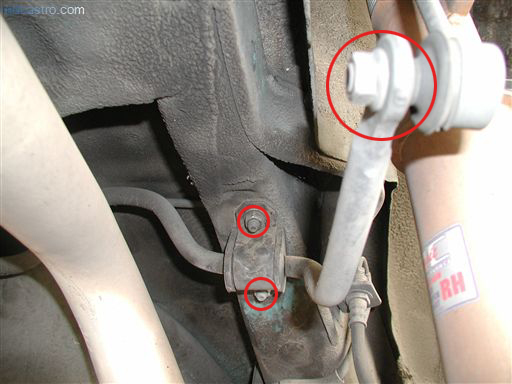
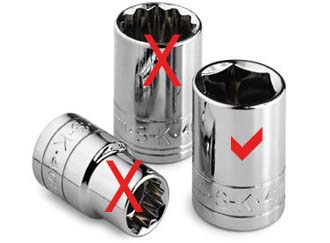
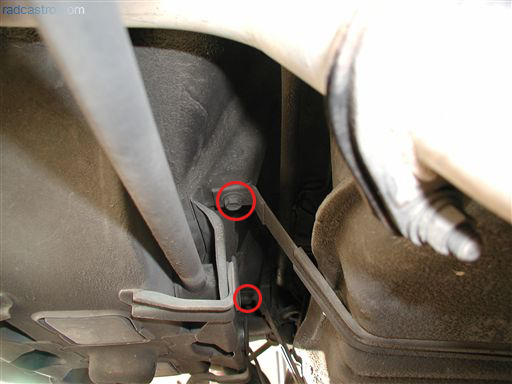
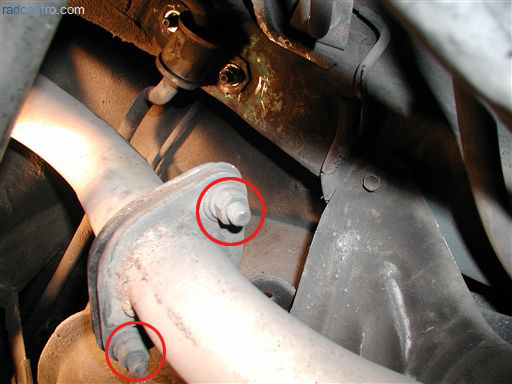
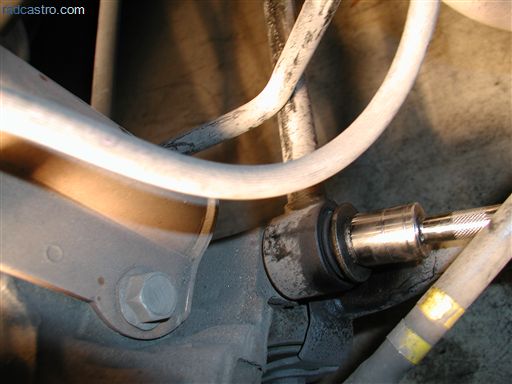
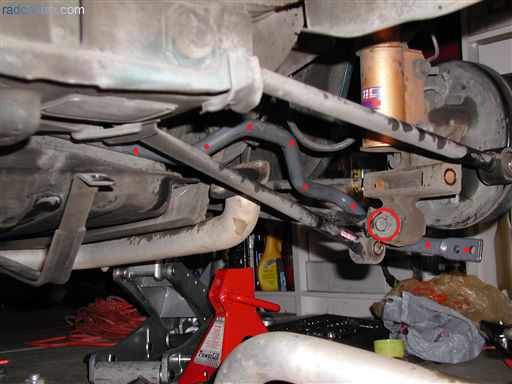
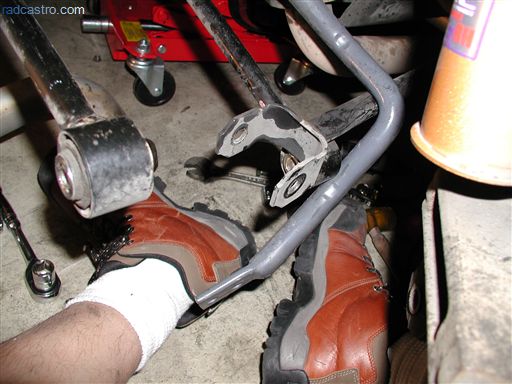
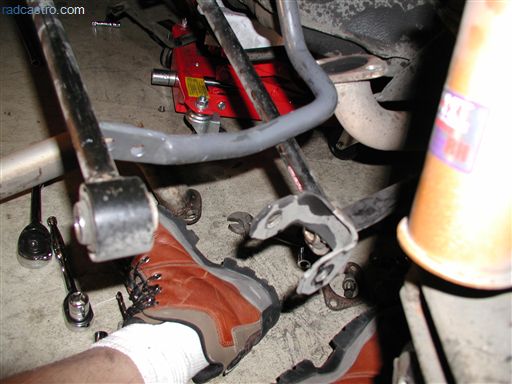
I'll assume that you know how to raise the car from the rear and know how to remove the wheels. So let's move on to the passenger side of the suspension because this is where most of the work will take place. Look at Figure 1 and Figure 2 to remove the end links from the bar. Use the circles as references. Figure 2 Avoid multi-sided sockets
...to avoid this..
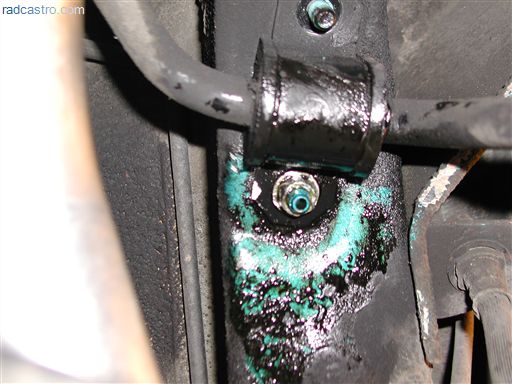
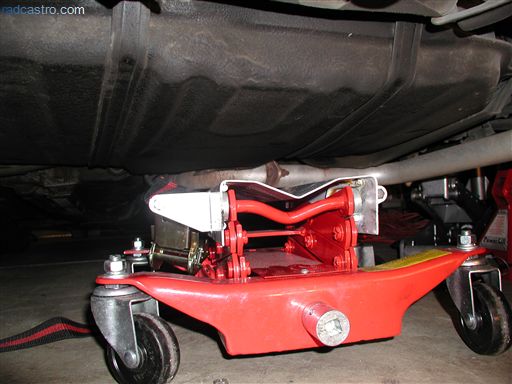
Why did they strip on me? I don't know. I expected these bolts to be extremely high grade but I'm guessing that the shitty bolts were degrading over time since they were close to the exhaust pipes (which emit alot of heat). Remember, these are bolts that are more than 10 years old before they were even touched. Next thing is to position the transmission jack or your stack of books under the fuel tank.
...then remove the bolts that hold up the fuel tank. Oh yeah...remember to raise your transmission jack as close as you can with about 1 inch between the jack and the fuel tank.
Once you get the bolts out the fuel tank will slightly fall. You will need to support it a bit so that you don't strain the fuel pipes. It should like the pic below.
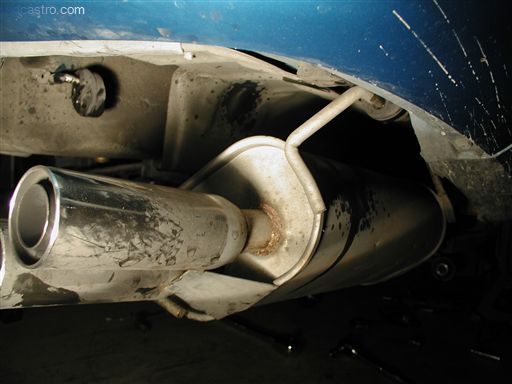
Make sure you also remove the end links from the driver side. Do not remove the sway bracket yet. Next thing we need to do is get the exhaust bolts off here. For the ST and GT/GTS this is the typical area where the exhaust divides. This is a HKS exhaust (which is closely modeled to the stock exhaust) so if you still have a stock exhaust or some other aftermarket exhaust, you will need to remove bolts some where else to get the muffler off so that it's easier to snake the old sway bar out.
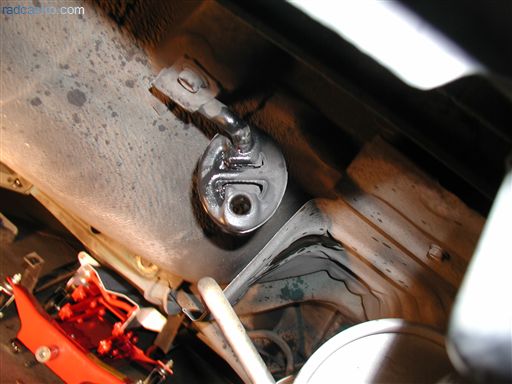
Ok. Now we're ready remove the brackets on boths sides of the car. Below is the Passenger Side with the bracket unbolted Passenger Side 1a
Passenger Side 1b
Passenger Side 1c
Now, do the same on the drivers side. Drivers Side
With the endlinks and the brackets unbolted from the frame, the sway bar should be dangling on bars and pipes. At this point the fuel tank should be lowered an inch. Nothing more. The next step is to go back to the passenger side and unbolt the control arms from the brake/suspension assembly as shown below. The arms utilize a bolt almost six inches in length and require large sockets. This is a good time to use those breaker bars or steel pipes to extend your ratchet. Liquid wrench also helps here. Control arm locknut (left side of rear passenger side brake) Control arm bolt (right side of rear passenger side brake) When you finally have the locknut free from the left side, use a socket extender to push the bolt through the assembly as shown below.
Once the bolt is freed, your old sway bar will dangle on the passenger side like this...
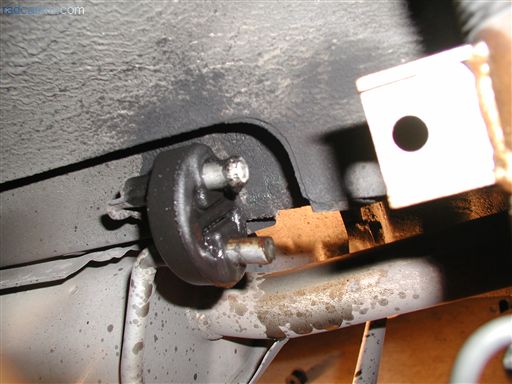
From here, you can choose to try to snake the bar past the fuel tank. Since I was by myself, I was going through so much difficulty trying to get the bar off. This is when I decided to remove the muffler completely. NOTE: The rubber exhaust hangers are extremely hard to remove without liquid wrench...so use the spray liberally. Below are some of the exhaust hangers...
If done correctly, your muffler should be off in 1-2 minutes
As a friendly reminder, don't forget to remove this part also
Once you get the muffler out, you can easily twist and snake the sway bar easily from the rear. You'll then be able to compare it to its successor Angle 1 Angle 2 Angle 3 Once you're done taking a break playing with the bars, you need to snake and wedge the new one onto the frame. With all the options I had trying to snake its way back in, I decided to do it this way. See Figure 2. Of course, there were other ways like lowering the fuel tank even more...even then it would involve unbolting some pipes...which I didn't want to do. Figure 2 See the red circle on Figure 2? Unbolt it. From here you will have to swing the strut assembly toward you (swing towards the passenger side) so that the new bar can go right under the suspension assembly. This lets our new sway bar move from here...
to here...
Note my hairy legs. Once you have the rear bar in place...do the following in order:
When the brackets are bolted back the passenger side should look like this...
...while the driver's side looks like this...
Now, you'll have to decide which part of the bar you will connect your end link to. If you decide to bolt the end link to the bar for a some oversteer (which is the end of the bar), think about what kind of suspension setup you already have. Depending on your current suspension setup and spring rates, you may or may not notice or feel a response from the car by adjusting the bars. For me (because of my coilover setup), the settings were pretty drastic. If you have a suspension setup where the spring rates are linear and are stiff (i.e. 8kg front/6 kg rear), you'll definitely feel the difference. Very impressive when cornering at high speeds. Don't be stupid and do it on the streets though. Please do it at a controlled environment.
The old bar is now friends with the jack. End game. Drive your car around and get a feel for the setting you decided to go with.
Thanks for reading. Submitted by xxx@******.com Revision 0 Article submitted on 30 Mar 2010 Viewed 5486 times |
|
|
||||